Lighting in Photography: Shedding some Light on the Basics
You have just purchased a camera and you don’t really know how lighting can transform a regular shot into a masterpiece? This blog is for you.
Introduction
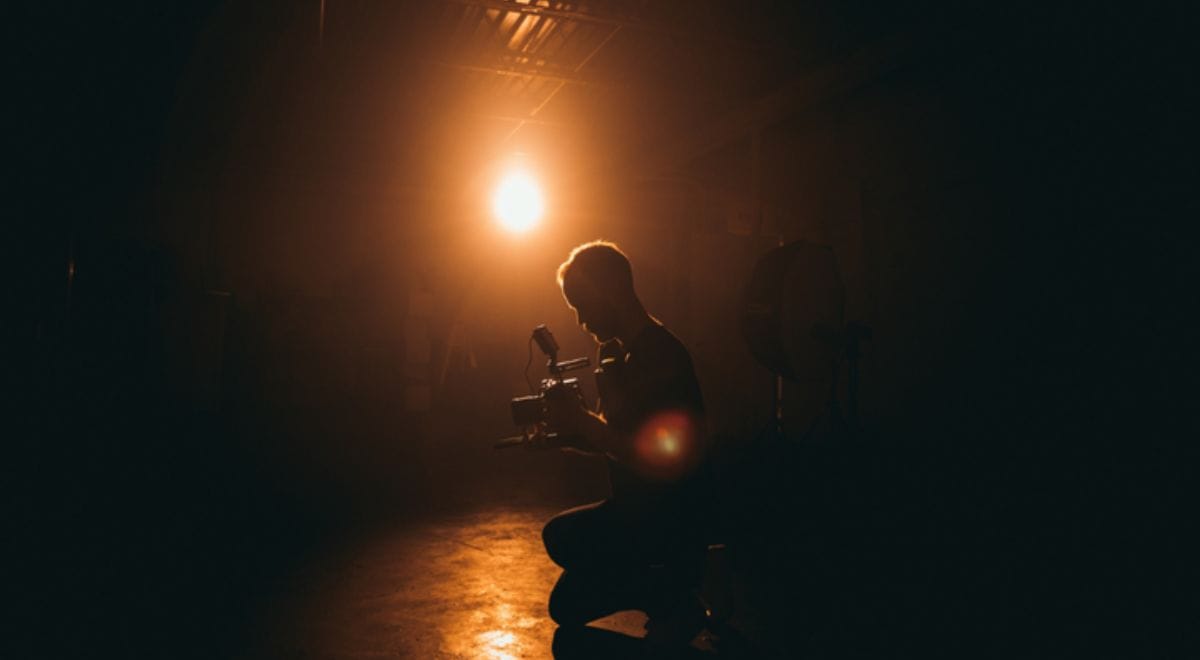
You have just purchased a camera and you don’t really know how lighting can transform a regular shot into a masterpiece? This blog is for you. Knowing the basic lighting techniques is crucial to take amazing photographs indoors and outdoors. Let’s dive right into it.
1) Natural lighting - The MVP
Natural light is your best friend in an outdoor setting. It is abundant and even a beginner can utilize natural light to take amazing photographs. If you manage to avoid the harsh midday sun rays, you can do wonders with your camera. Natural light illuminates your subject in the right compositions so you don’t have to worry about editing your picture all too much.
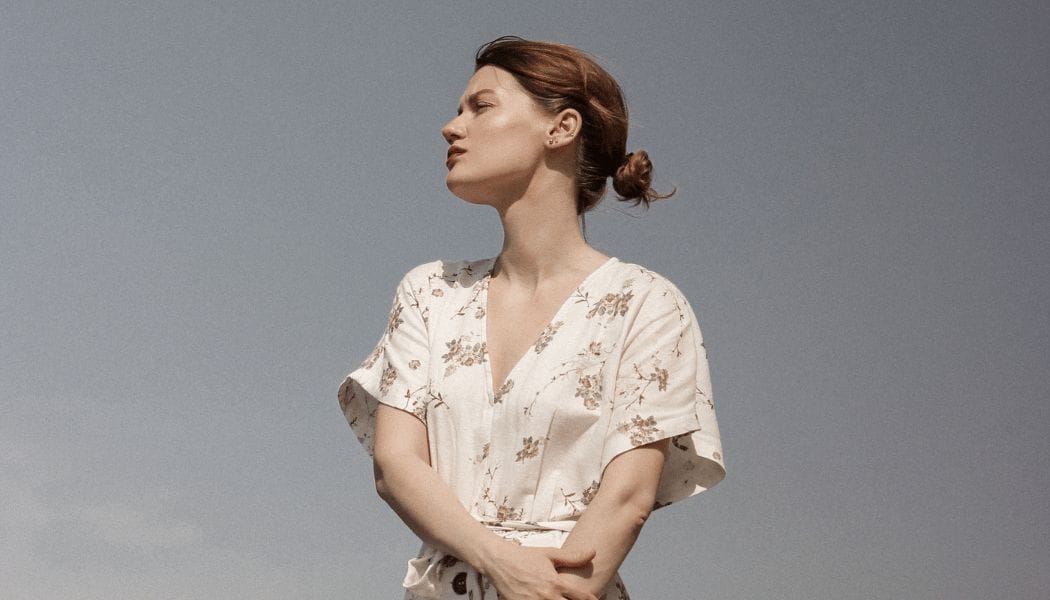
However, Natural light can be of various forms, namely:
Golden Hour:
A warm, golden glow is cast by the sun during this wonderful time right after sunrise and just before sunset when the sun is low in the sky. It produces long, appealing shadows and soft, diffused light. It is like the universe’s natural Instagram filter.
Unfortunately, these windows can easily be missed, so utilizing technology to capture them becomes crucial. When it comes to generating backgrounds, here is a good option to check out as it may help you recreate that golden hour glow in your photos, even when the natural light isn’t available. By using AI tools to simulate the perfect lighting conditions, you can ensure that your images capture that same warm, enchanting ambiance any time of day.
Blue Hour:
Before you make assumptions, no, it's not a type of cocktail. Blue hour is the time just before sunrise or after sunset, when the sun has disappeared into the horizon but still provides a cool, serene light with a deep blue hue. If you miss the Golden Hour in the evening, nature still has a back up plan for the photographers.
Overcast Skies:
A cloudy afternoon might just become a surreal environment for you to take advantage of as a photographer. It acts as a natural diffuser, softening the light and reducing harsh shadows. The perfect setting for macro photography or portraits.
2) Artificial lighting - Do whatever you want
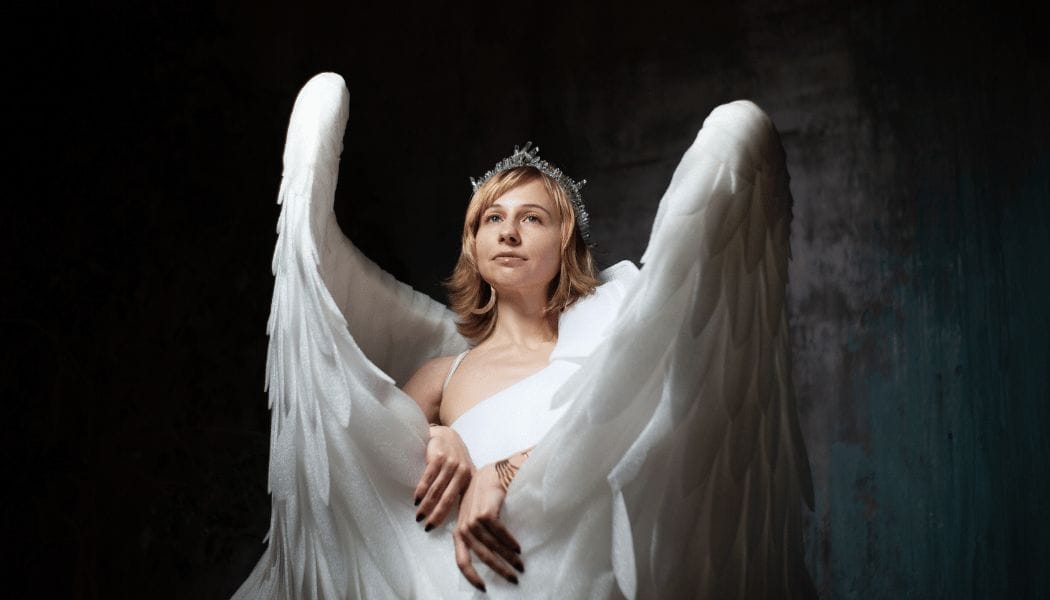
Artificial lights encompass man-made light sources, thus providing a greater control over how the light falls on your desired subject. There are different types of artificial lighting and you must be able to choose the one that best suits your output in mind before capturing your image.
Continuous Lighting:
In this model, the light sources such as LED panels, Tungsten lights and fluorescent lights are continuously on, illuminating your subject. It provides real-time feedback on how the light falls on your subject, making them suitable for video and portrait photography.
Strobe or Flash Lighting:
Flash units, emit a sudden burst of intense light for a fraction of a second. You must have seen these in use in a studio setting or during outdoor shoots to freeze motion and produce controlled, high-contrast lighting.
Speedlights:
Speedlights are compact, mobile flash units that can be attached to a camera or used off-camera. They are adaptable, suitable for both indoor and outdoor photography, and provide adjustable power and a variety of lighting modifiers.
3) Ambient Lighting - Mood Setters
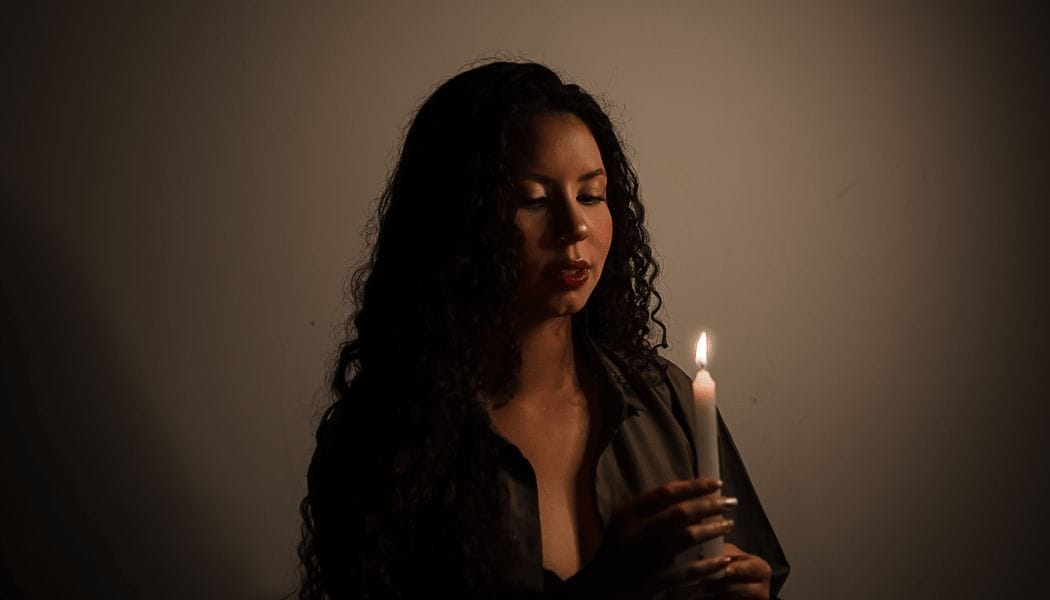
The term "ambient light" describes the existing illumination in a scene, which may come from neon signs, candles, or streetlights. It can be creatively used, especially in low-light situations, to add atmosphere and mood to your photos. Making the most of ambient light can be accomplished by modifying your camera's settings, such as ISO and aperture.
4) Rembrandt Lighting - Painting Vibes
Rembrandt lighting, named after the famous Dutch painter, features a triangle of light on the subject's cheek and is a traditional portrait lighting technique. It is accomplished by angling the main light source so that it is 45 degrees above the subject's eye level. This method brings portraits depth and dimension, giving them a classic and dramatic look.
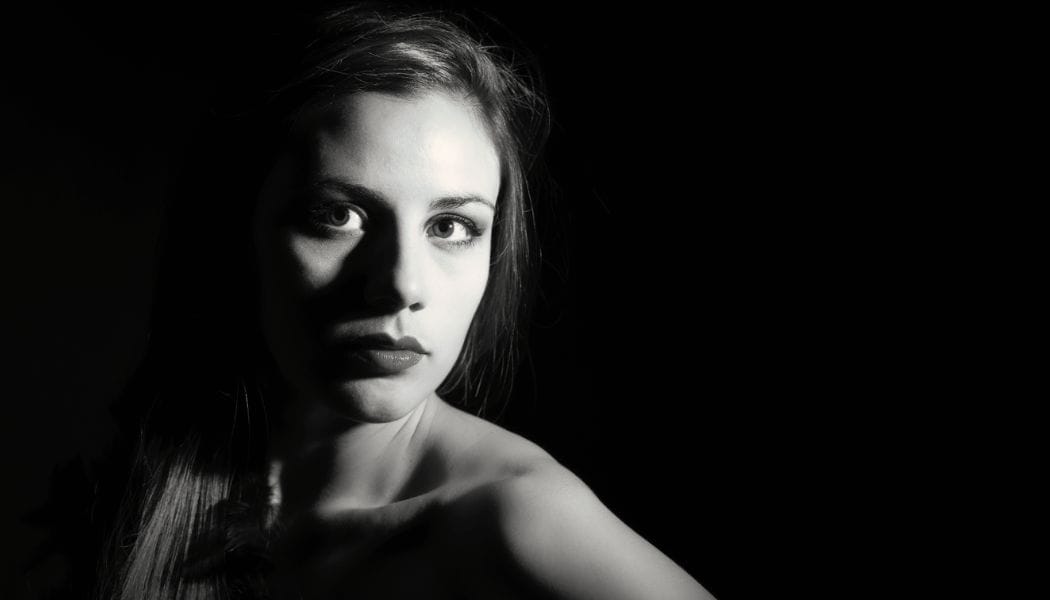
5) Split Lighting - Half-face Mystery
Split lighting is an effective technique frequently applied in portrait photography. It is produced by spotlighting one side of the subject's face while casting shadow on the opposite side. This method highlights and draws attention to the contours and features of the face while expressing mystery and drama.
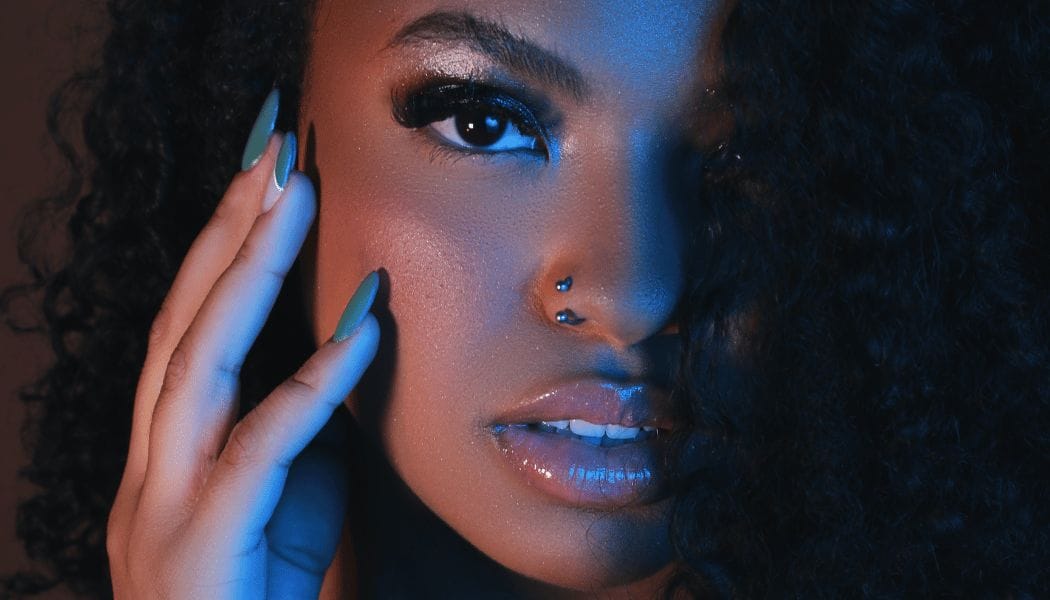
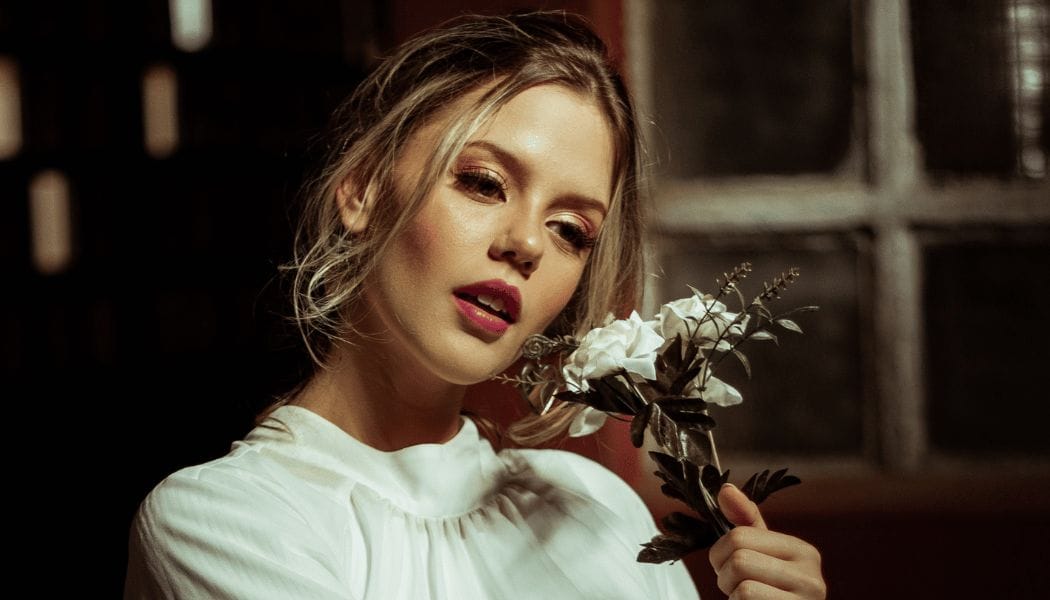
6) Butterfly Lighting - Beautify
Butterfly lighting is a popular choice for beauty and fashion photography. The light source must be positioned directly in front of and above the subject's face. This results in a small, butterfly-shaped shadow under the nose, giving the face a glamorous and flattering look.
Conclusion
Utilizing various lighting sources effectively as a photographer is essential to determining the tone, atmosphere, and impact of your photographs. Whether you're using artificial, natural, or a combination of both types of light, each one has distinct qualities and creative potential. Experimenting with these lighting strategies and learning when and how to apply them will take your photography to new levels and enable you to create memorable visual narratives. Therefore, venture forth, discover, and enlighten the world through the lens!


Comments ()