
Vital Role Of Bathroom Waterproofing In Preventing Costly Damage
Leaky bathrooms wreak havoc on your home and wallet. Learn why proper waterproofing is crucial, explore methods, DIY vs. Pro tips.
Think of your bathroom as a mini oasis – a haven for relaxation, rejuvenation, and… gulp potential disaster. If you haven't prioritized bathroom waterproofing, that blissful soak could quickly turn into a nightmare of leaks, mold, and structural damage.
But fear not, fellow bathers! This comprehensive guide delves into the vital role of bathroom waterproofing in protecting your home and your sanity.
Why Waterproofing Matters: A Leaky Reality Check
Let's face it, bathrooms relish in moisture. From steamy showers to cascading baths, water dances everywhere. While delightful for the moment, this constant exposure presents a hidden threat: water infiltration.
Unprotected surfaces soak up moisture like a sponge, leading to a cascade of costly problems:
- Rotting subfloors and joists: Damp wood fosters decay, compromising the bathroom's structural integrity and posing safety hazards.
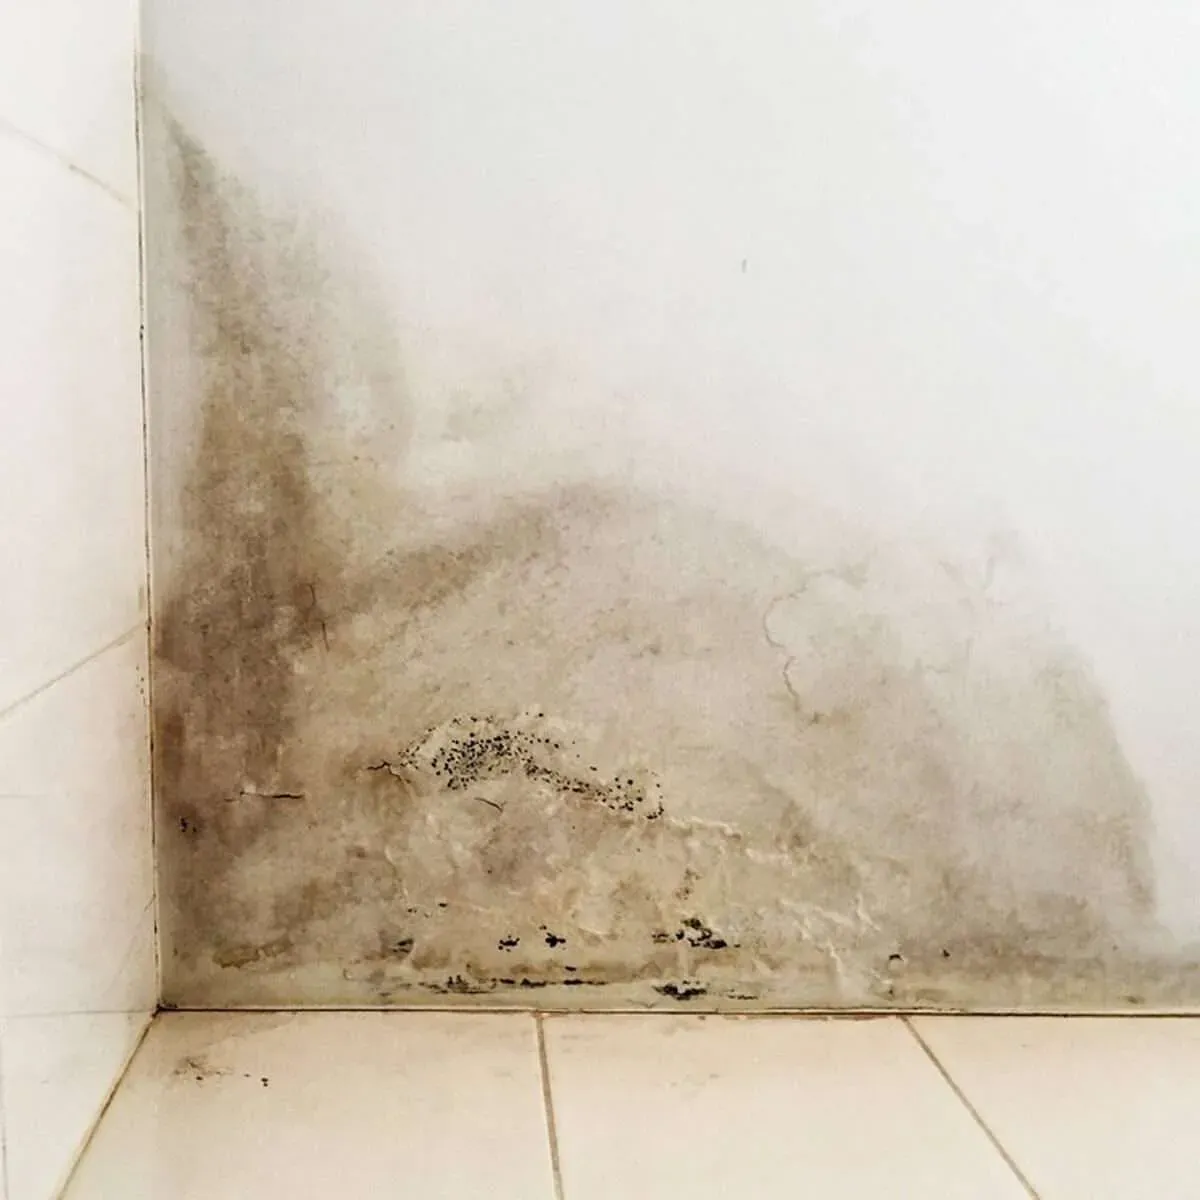
- Mold and mildew growth: These unwelcome guests thrive in damp environments, triggering respiratory issues and damaging surfaces.
- Tile cracking and grout breakdown: Constant moisture weakens these materials, causing unsightly cracks and leaks.
- Pest infestations: Moisture attracts wood-boring insects and termites, adding another layer of damage to the equation.
- Property value erosion: Leaky bathrooms paint a picture of neglect, significantly impacting your home's value.
Waterproofing: Your Invisible Guardian Angel
Now, let's flip the script. Imagine a bathroom cloaked in an invisible shield, effortlessly repelling water. That's the magic of effective waterproofing. By creating a watertight barrier between wet zones and your home's underbelly, you prevent moisture from wreaking havoc.
waterproofing
This shield comes in multiple forms:
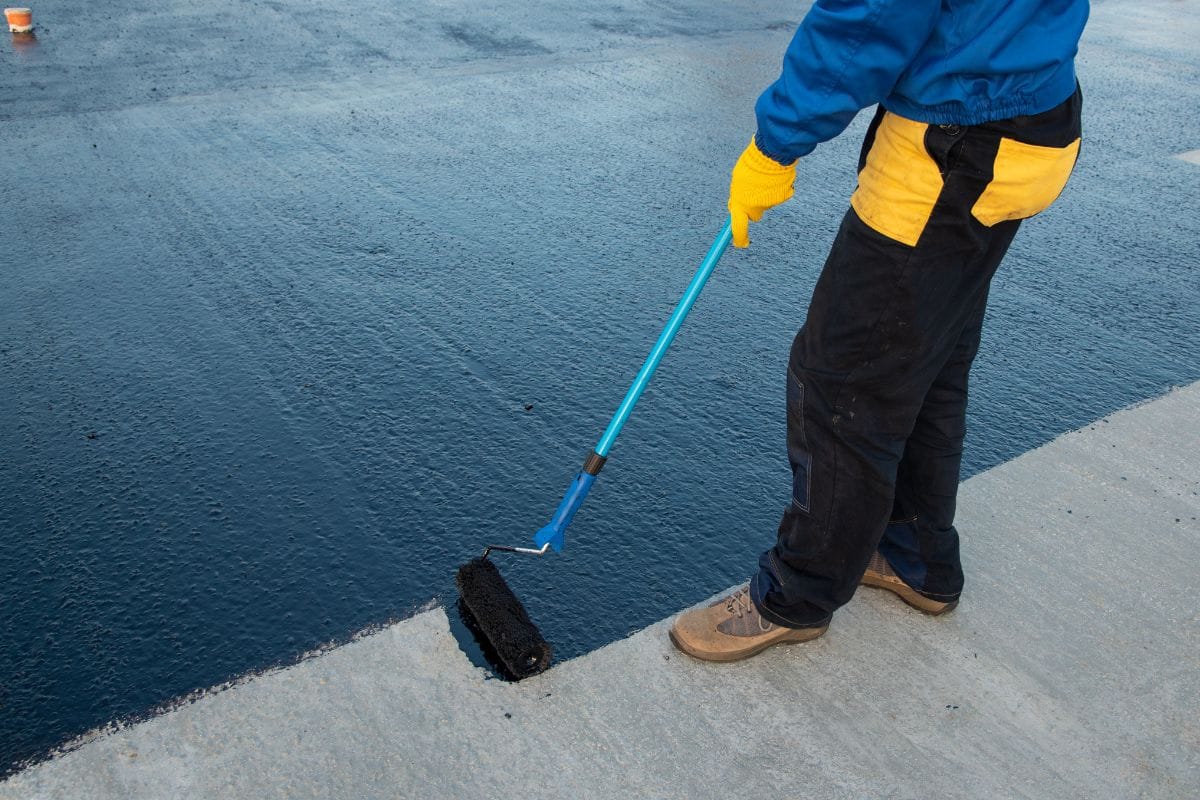
- Liquid membranes: These paint-on or trowel-on barriers form a seamless, water-resistant layer on floors and walls.
- Sheet membranes: These pre-fabricated rolls offer excellent protection, particularly for showers and wet areas.
- Drain waterproofing: Specially designed collars and membranes ensure even the most vulnerable areas (around drains) are leak-proof.
DIY vs. Pro: Weighing the Options
While some bathroom waterproofing methods are DIY-friendly, others require professional expertise. Here's a breakdown to help you decide:
DIY for the Handy Savvy:
- Simple paint-on liquid membranes: Perfect for refreshing existing waterproofing if done right.
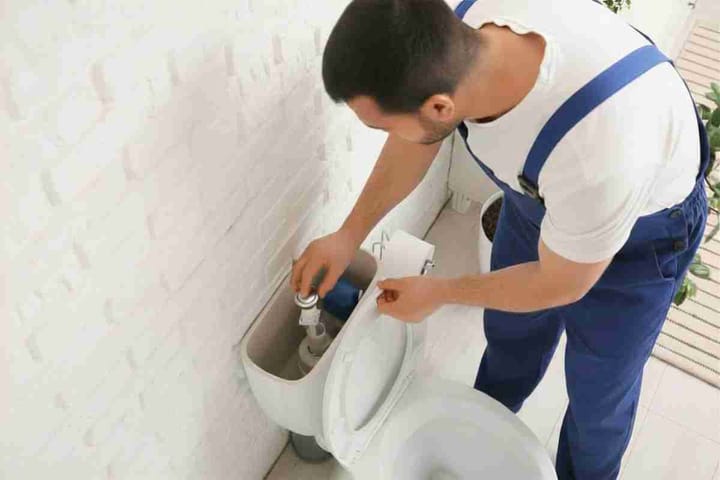
- Resealing around fixtures and drains: Easily tackled with silicone caulk and patience.
- Maintaining proper ventilation: Install exhaust fans and open windows to combat moisture buildup.
DIY Journey: A Practical Guide to Bathroom Waterproofing
While professional waterproofing guarantees top-notch protection, the intrepid DIYer can still tackle basic projects with proper preparation and guidance. Buckle up as we dive into the practical aspects of DIY bathroom waterproofing!
- Gear Up: Essential Tools and Materials
Before you embark on your watertight crusade, assemble your arsenal:
- Liquid membrane paint or roller: Choose a product suitable for your bathroom tiles and surfaces.
- Primer: Ensures optimal adhesion between the membrane and surface.
- Paint brush: For intricate areas and corners.
- Caulk and caulking gun: Seals gaps around fixtures and drains.
- Putty knife: Smoothing and spreading paint and caulk.
- Safety goggles and gloves: Protect yourself from chemicals and sharp edges.
- Drop cloths and painter's tape: Minimize mess and protect surrounding areas.
- Ventilation mask: Protect your lungs from dust and chemical fumes.
- The Step-by-Step Saga: Applying the Liquid Membrane
- Prep the Battlefield: Thoroughly clean and dry the bathroom surfaces. Remove grime, soap scum, and any loose grout or tile fragments.
- Prime Time: Apply a thin, even layer of primer to the surfaces, focusing on corners and joints. Allow it to dry completely as per the manufacturer's instructions.
- Membrane Mania: Pour the liquid membrane into a tray and dip the roller. Apply a generous first coat in smooth, even strokes, ensuring complete coverage. Don't forget corners and edges!
- Crosshatch Crusader: While the first coat is still wet, apply a second coat perpendicular to the first, creating a crosshatch pattern for optimal reinforcement. Let both coats dry completely.
- Caulking Corner: Once the membrane is dry, apply high-quality silicone caulk around drains, fixtures, and wall-floor junctions. Smooth the caulk with a wet finger for a professional finish.
Pro Tips for DIY Success:
- Read the product label carefully: Follow the manufacturer's instructions for application, drying times, and safety precautions.
- Test on a small area first: Before diving in, try the membrane and caulk on a discrete tile to ensure compatibility and proper drying.
- Work in sections: Don't attempt to cover the entire bathroom in one go. Tackle it in sections to maintain control and avoid drips.
- Ventilate like a pro: Keep windows open or use exhaust fans to ensure proper ventilation during and after application.
- Patience is key: Allow adequate drying time for each layer of membrane and caulk. Rushing the process can lead to poor adhesion and waterproofing failure.
Call the Pros for Complexities:
sheet membrane waterproofing
- Installing sheet membranes: Requires precise application and knowledge of proper overlaps and transitions.
- Waterproofing showers and wet areas: Complex cuts and intricate sealing demands professional craftsmanship.
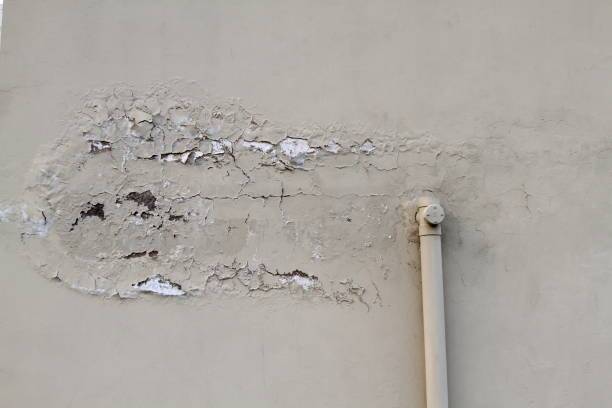
- Dealing with pre-existing water damage: Identifying the source and implementing effective repairs requires expert skills.
Beyond the DIY: When to Call in the Pros
While DIY waterproofing can be rewarding, some situations demand professional expertise:
- Extensive cracks or damaged substrates: These require expert assessment and repair before waterproofing can be applied effectively.
- Shower pan installation or replacement: Proper construction and waterproofing of shower pans necessitate specialized skills and tools.
- Complex layouts or multiple wet zones: Bathrooms with intricate designs or multiple water sources benefit from a professional's meticulous approach.
- Pre-existing water damage: Identifying the source and repairing the damage before waterproofing requires experience and knowledge of remediation techniques.
Investing in professional waterproofing may seem like an upfront cost, but it delivers long-term value by ensuring a watertight, protected bathroom. When in doubt, prioritize your peace of mind and structural integrity – consult a reputable waterproofing specialist for the job.
The Cost-Benefit Equation: Investing in Peace of Mind
Let's be honest, waterproofing isn't the cheapest project. However, the cost pales in comparison to the potential damage it prevents. Consider it an investment in your home's longevity, structural integrity, and your health. Remember:
- Early detection and repair save money. Addressing leaks promptly minimizes damage and keeps repair costs under control.
- Waterproofing adds value to your home. A well-protected bathroom becomes a selling point, fetching a higher price in the market.
- Peace of mind is priceless. Knowing your bathroom is leak-proof translates to less stress and a safer, healthier environment.
Beyond the Bricks: Additional Tips for a Watertight Sanctuary
For ultimate bathroom protection, go beyond just waterproofing:
- Choose water-resistant materials: Opt for tiles with low porosity, like ceramic or porcelain, and invest in moisture-resistant grout.
- Maintain proper drainage: Ensure slopes direct water towards drains, and keep them clear of debris.
- Regularly inspect your bathroom: Look for hairline cracks, discolored grout, or warped tiles – telltale signs of moisture issues.
- Don't neglect ventilation: Adequate airflow prevents moisture buildup, making your bathroom a mold-free zone.
By prioritizing bathroom waterproofing and incorporating these additional tips, you can transform your sanctuary from a potential leak zone into a haven of lasting beauty and value. Remember, a little prevention goes a long way in keeping your bathroom, and your wallet, happy.
Remember, even minor leaks can lead to significant damage over time. If you encounter any challenges or complexities during your DIY journey, don't hesitate to consult a professional for guidance or assistance.

Comments ()