
How to Renovate your Basement: A Professional Guide
Transforming an unfinished basement that was used for storage into a classy multipurpose room is achievable. Keep reading!
Introduction
It is a delightful thing to own a house with a basement. But if you watch too many horror movies, all we can say is, "Let God be with you!". Apart from their role in every horror film, a basement, if remodeled, could turn into a bedroom, home gym/bar, kid's room, or anything you want it to be. The possibilities are endless. Don't worry about the noises while renovating; only worry about them if you still hear them after.
Now, let's learn how to transform your basement into a valuable and enjoyable part of your home through this blog.
The Step-By-Step Process
Where do you start working on the basement? What do you have to keep in mind before starting? All of those questions will be answered when you finish reading this blog. Transforming an unfinished basement that was used for storage into a classy multipurpose room is achievable if you follow the following steps:
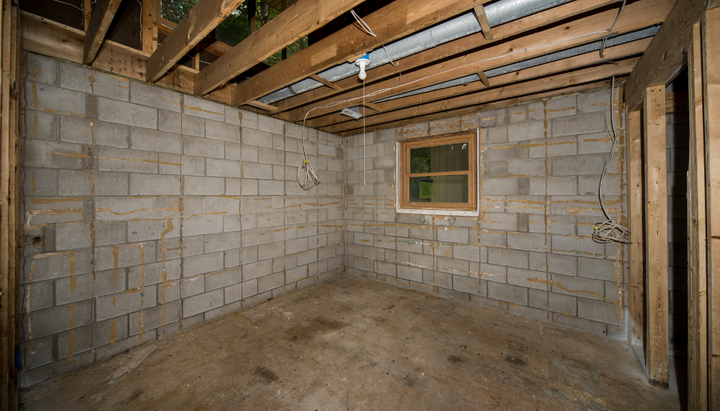
1) Assess the Basement:
Before picking up your handyman tools to get started on what you might be thinking is a simple DIY task, you need to assess the amount of work to be done while considering a lot of factors. If you don't have a design in mind, take some time to come up with a plan for your basement. Decide what color you are going to paint the walls and the furniture you might be placing there.
Check for any leaks, moisture spots or any structural issues. Usually, to detect mold or mildew, a simple sniff would tell the story. The height of the ceiling, amount of natural light or other information will help you decide how you could renovate the space. If there are any issues, it must be fixed before the renovation begins. But, don't put your big boy shovel down, we will use it shortly.
2) Set the Budget and Plan your Basement:
Look around your basement and plan a budget. Choose a floor material, preferably tiles. A ceiling if need be and the cost estimate for that. Setting the budget can be done while planning to get a better understanding of your requirements and to best apply the design.
Ask yourself about the primary purpose of this place. Is it going to be a bedroom, a gaming room, a home gym, a recording room, home theatre or a laundry room. Having the end goal in mind can make planning your budget much more simpler than just figuring it out. Plan storage, seating arrangements, bathrooms and furniture at this stage too.
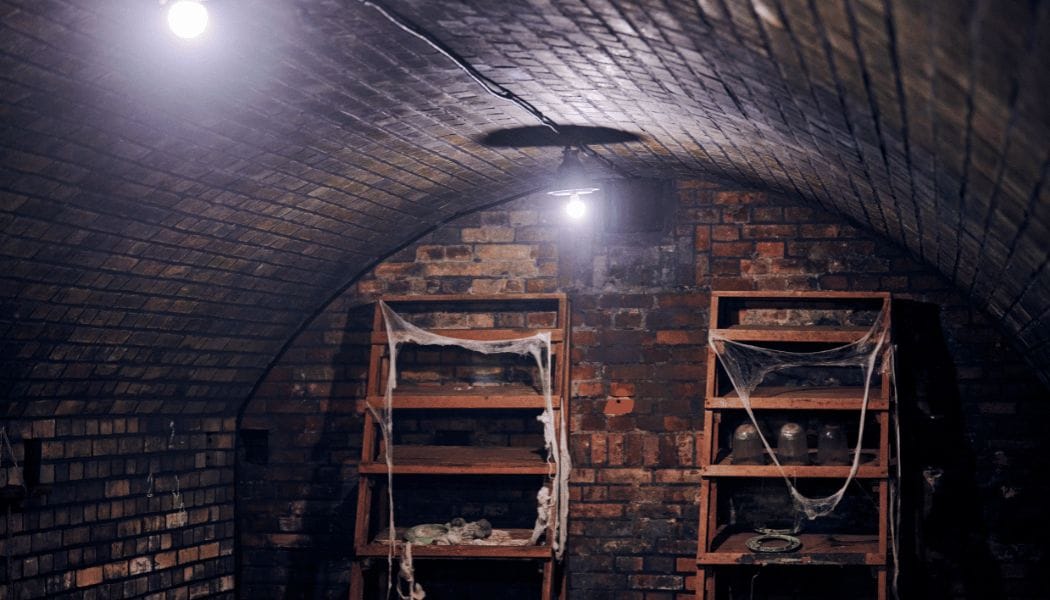
3) Clean, Clean, Clean:
Basements have a higher tendency to catch mold and mildew compared to other rooms. It is important to clean any mold and fix leakage and other damage before starting with the remodeling.
If there are any stuff occupying the basement, remove it temporarily or move it out to the attic or garage. You would not want any of these unused but valuable items to get damaged. Plus, it would still hurt the same if you trip and fall on old things while renovating.
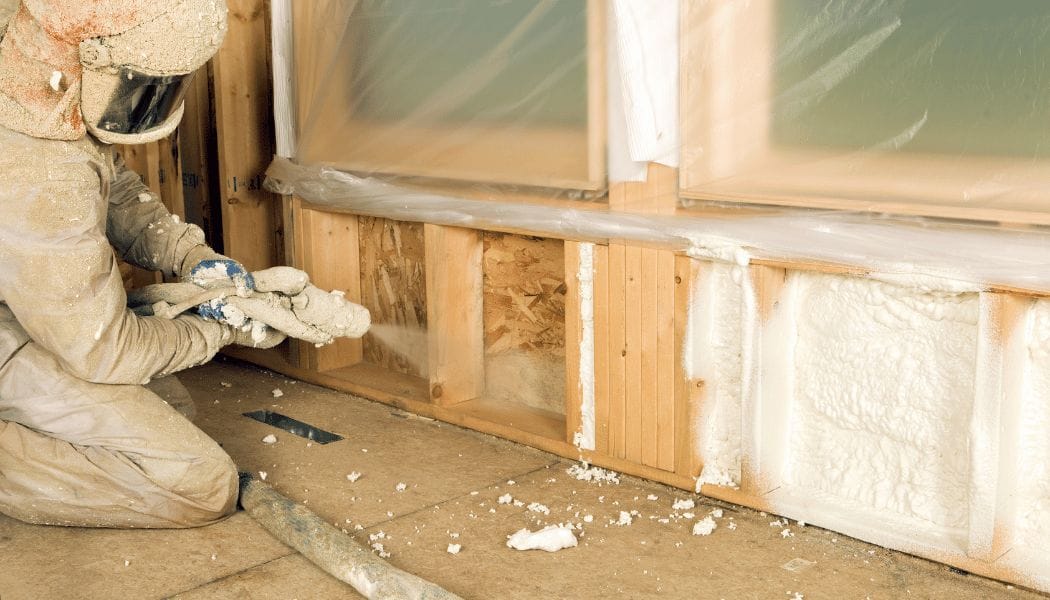
4) Insulate your Basement:
This is the first step of the active renovation process. Most basements are made with just brick walls to protect against moisture and other things lurking underground. Adding an insulation layer to the basement walls will make it more comfortable and durable in the long run. It will help regulate temperature inside the basement, keeping it cool during summers and warm during winters. There are several popular choices for insulation material, namely:
i) Spray foam: The spray foam helps fill all cracks that prevents the spread of mold and mildew. It can be a messy and more expensive way to insulate the basement but it offers an additional layer of protection against moisture.
ii) Foam board: This is a 2-4 cm thick foam board. Place it against the back of the basement wall and fill the seams with tape or spray foam for better filling.
iii) Foam and fiberglass: In this set up, the foam is installed directly against the concrete wall and is framed. Then a fiberglass layer is added. This method is not recommended if there is high moisture content in the basement but is an inexpensive way compared to the other two insulations.
5) Install Electrical & Plumbing Amenities:
Map out the basement and pinpoint locations where there must be electrical outlets and plumbing controls. Electricity and water in a stand-alone room underground is a must, don't you think? But if you are building a torture room, skip this step.
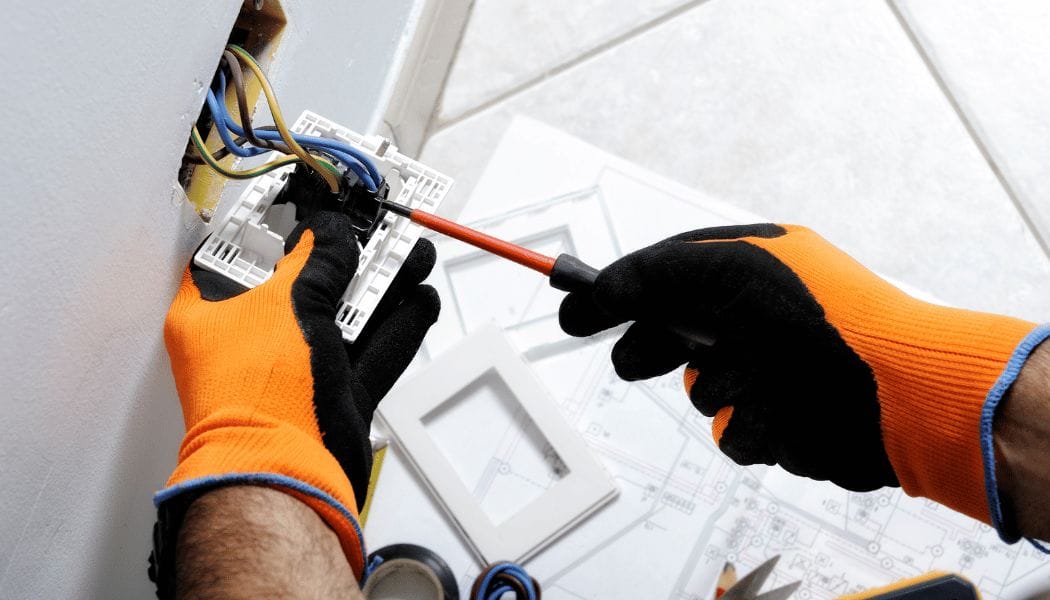
Contact a professional plumber or electrician to do the work for you while you spend your time planning the rest of the remodeling work. If you try to do it yourself with no prior experience, you should probably get back to this after building a tree house.
6) Install the Ceiling and Floors:
If you have any fancy ceiling ideas, go for it. Adding mirrors and looking for ways to include more light in the ceiling could elevate the overall look to your new designer torture room cum basement. Match the flooring with the ceiling and the rest of the room. Using bright colors for the ceiling and floor will make you wonder if the basement is really a basement.
Popular choices for flooring in the basement are ceramic tiles and porcelain tiles. You could use wood tiles but they could get affected by the moisture content overtime. Stone and marble tiles are a good option too.
7) Paint the Basement:
A basement is usually a closed space with little to no ventilation or natural light. So, it is important to use light colored paints for the basement walls to reflect light effectively, thus providing more illumination. Semi-gloss and glossy finishes work best for basements as they are moisture-resistant, mold resistant, and easy to clean.

Colors like bright white, light blue, navy blue, bright red, purple, grey, cream, green and yellow are good color options for a basement. You can, of course, consult with professional painters to give you a better idea on the color of the walls. Clean any spills after drying and your new basement is ready!
8) Add Finishing Touches:
Now that your basement is framed and prepared, you shall finally install all the accessories to finish it up. Fill the place up with gym equipment, home theatre systems, or a butcher's knife and a slab. It is all up to you.
Bring in paintings or artworks to decorate the space. If the whole point of the renovation was to extend your home, then you can increase your budget a little more and install ventilation systems and dehumidifiers to make the space more comfortable. Order furniture that goes best with the room or if you are not sure, you always have the option of consulting with professionals.
Conclusion
Unleash your creativity on that one room everybody is terrified of and transform it into your palace if you want. Following these steps can help you renovate your balcony to its best form and give you an extra room in your house to hang out. Congrats on your new play area, gym, bar or torture room. Have fun with it!
Comments ()