
The Ultimate Guide to Roof Installation: A Step-by-Step Process
Proper roof installation ensures home resilience. Our step-by-step guide offers insights and tips for durable, successful roofing outcomes.
The effectiveness and lasting resilience of your home hinge greatly on the meticulous execution of the roof installation. Using a careful, step-by-step approach is essential whether you're building a new house or remodeling an old one. This manual's goal is to provide an in-depth analysis of each step of the roof installation procedure together with wise advice to guarantee a successful and durable outcome.
Steps to Follow
Step 1: Planning and Preparation
Before you start the actual installation, careful planning and preparation are essential:
Choose the Right Roofing Material: Choose a roofing material that aligns with your budget, climate requirements, and aesthetic inclinations. Popular choices encompass asphalt shingles, metal roofing, wooden shakes, and slate tiles.
Measure and Calculate: Precisely gauge the dimensions of your roof to ascertain the necessary quantity of roofing material required. This helps in budgeting and prevents unnecessary wastage.
Gather Materials and Tools: Collect all essential materials and tools, including roofing materials, underlayment, nails, flashing, ventilation components, safety gear, and specialized roofing tools.
Check Local Regulations: Ensure you're aware of any local building codes, permits, or regulations related to roof installation in your area.
Step 2: Roof Removal (If Applicable)
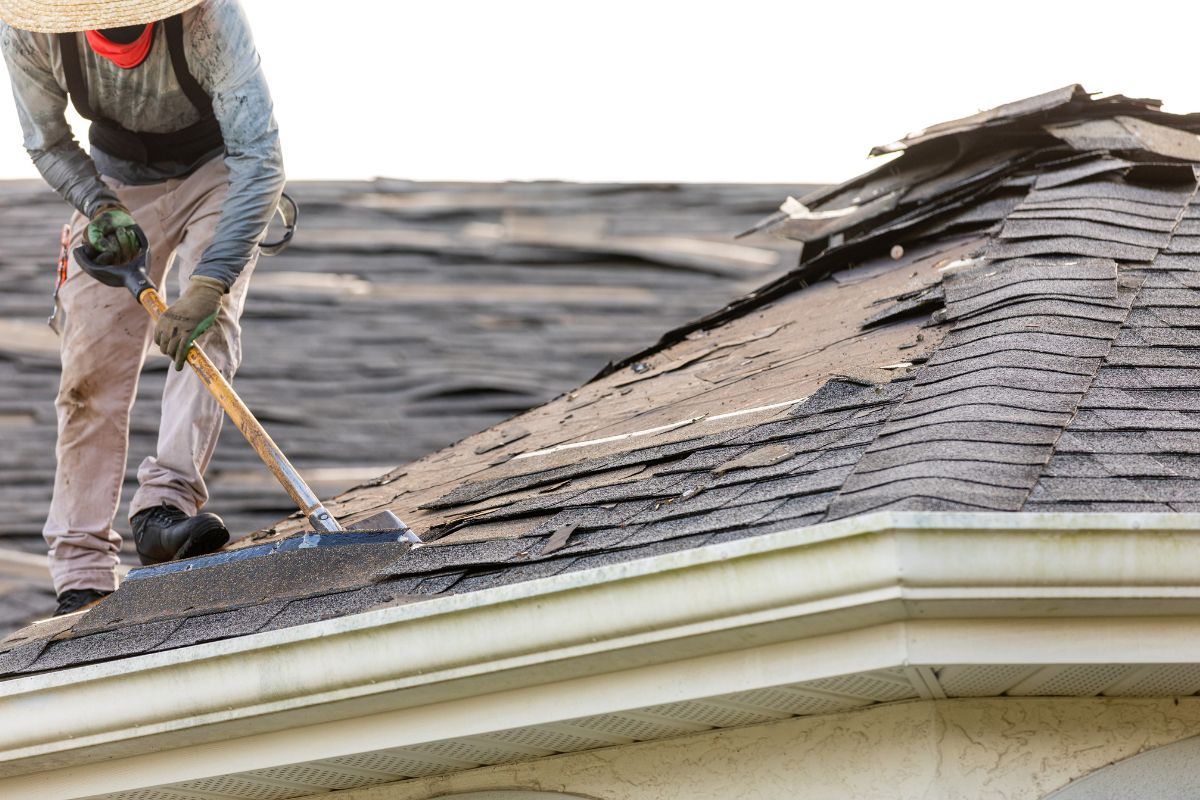
In the case of replacing an existing roof, the initial step involves the removal of the old roofing material:
Safety Precautions: Wear appropriate safety gear, including gloves, goggles, and non-slip footwear.
Remove Old Roofing: Starting at the top and working your way down, carefully remove the old roofing material. Dispose of the debris responsibly.
Inspect the Decking: Check the roof decking for any damage, rot, or deterioration. Replace any damaged sections to ensure a solid base for the new roof.
Step 3: Installation of Underlayment and Ventilation
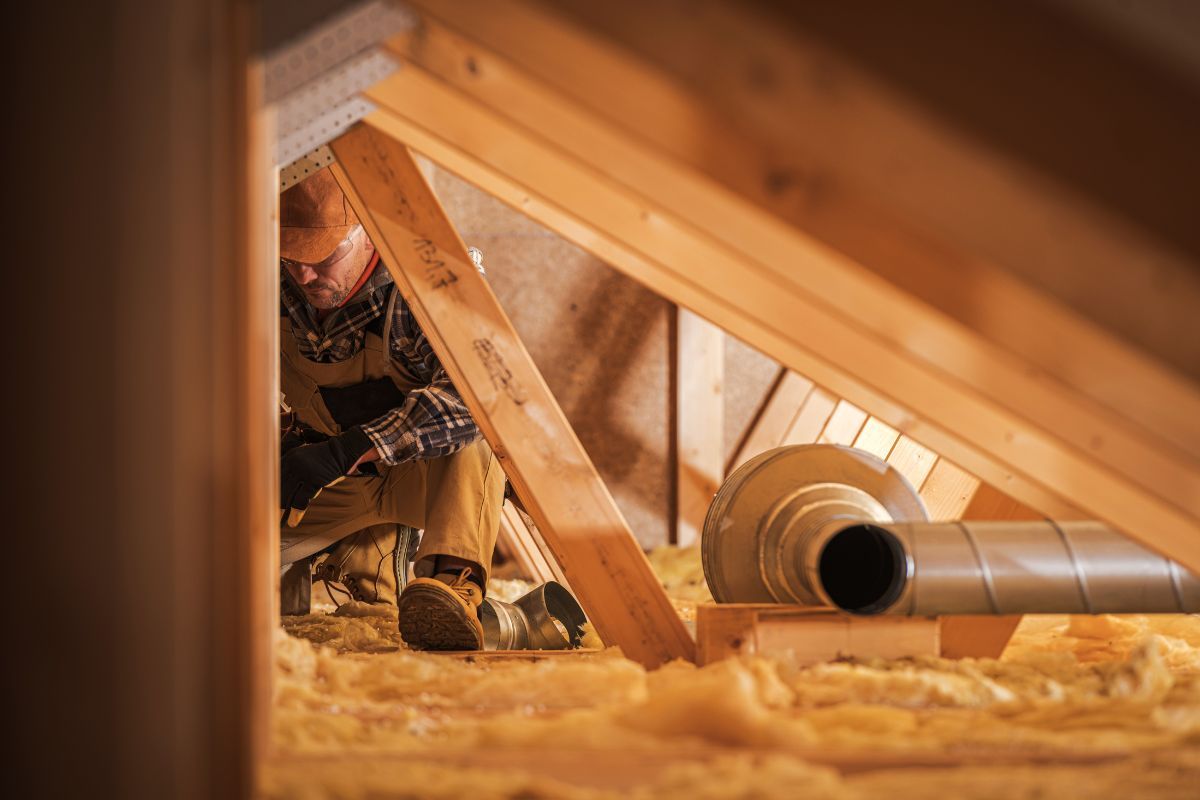
The underlayment provides an additional layer of protection against moisture and ensures proper ventilation:
Install Drip Edge: Attach drip edge along the eaves of the roof to prevent water damage.
Lay Underlayment: Roll out and secure the underlayment over the entire roof surface. This acts as a water barrier and helps in moisture management.
Install Ventilation: Place ridge vents, soffit vents, and any other required ventilation components to promote proper air circulation and prevent moisture buildup.
Step 4: Flashing and Starter Shingles
Flashing prevents leaks in vulnerable areas, and starter shingles provide a stable base for the main roofing material:
Install Flashing: Apply flashing around chimneys, skylights, vents, and other protrusions to prevent water infiltration.
Attach Starter Shingles: Install starter shingles along the eaves of the roof to create a solid foundation for the main roofing material.
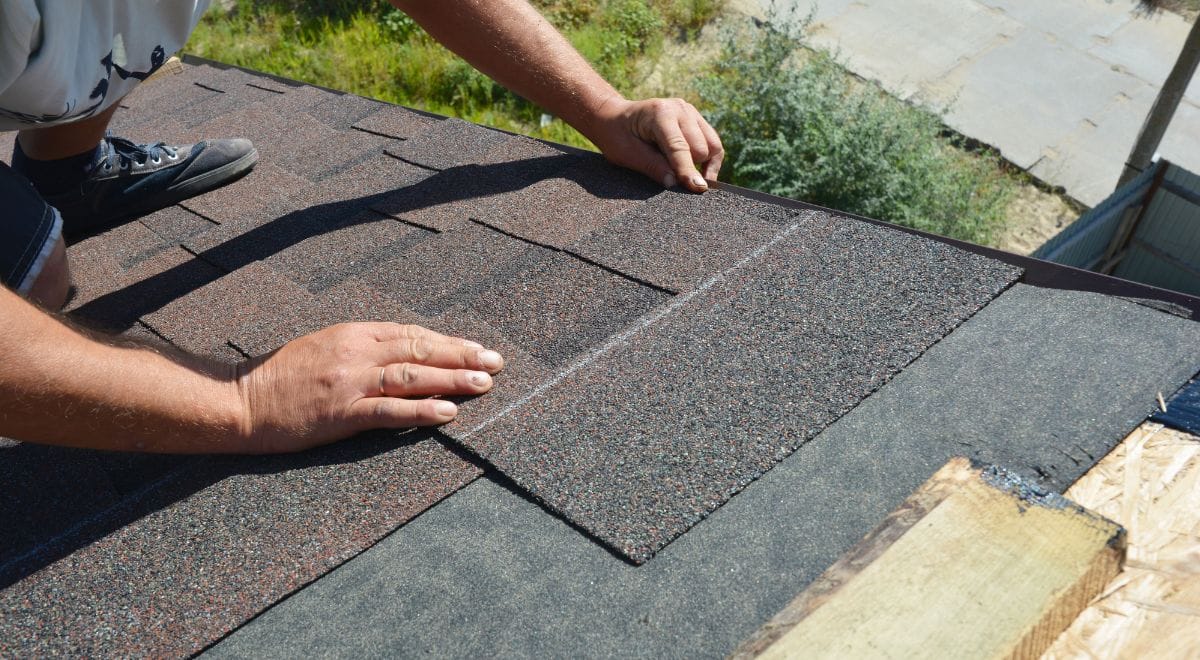
Step 5: Main Roofing Material Installation

Now it's time to install the main roofing material, whether it's shingles, metal panels, or another option:
Follow Manufacturer Guidelines: Adhere to the manufacturer's instructions for the specific roofing material you're using.
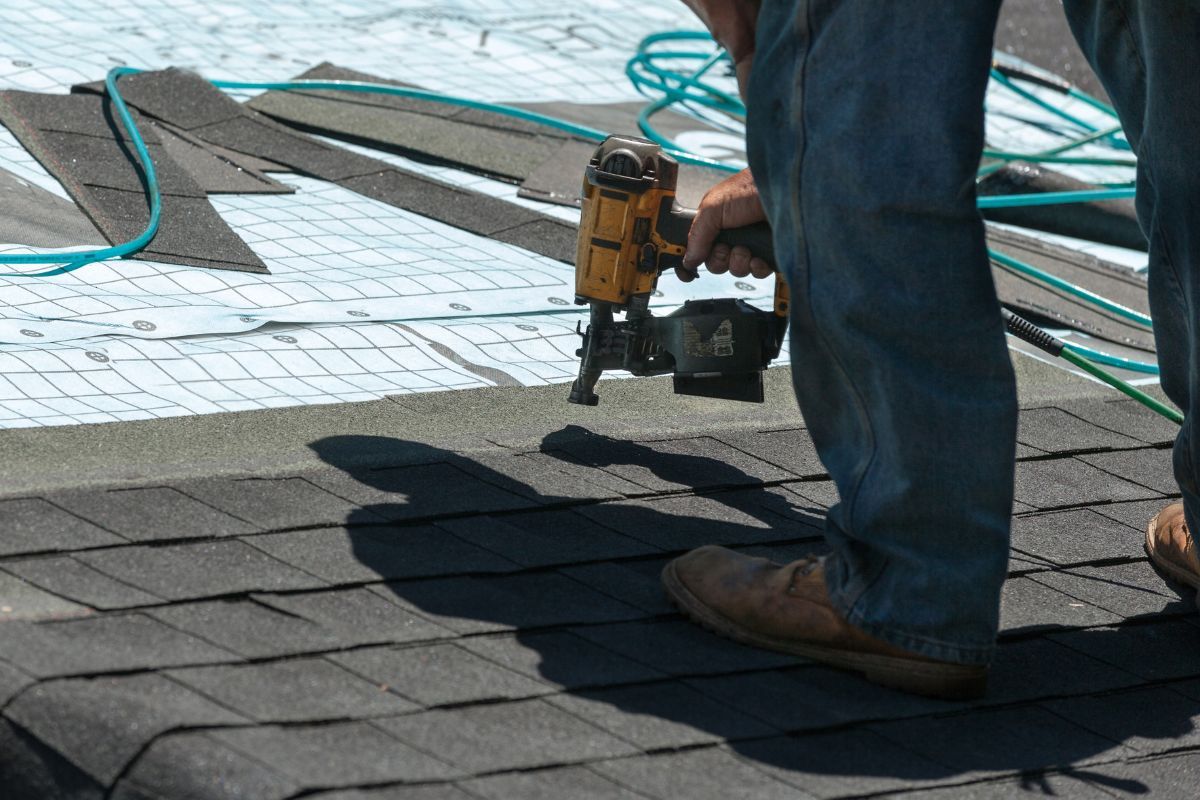
Begin Roofing: Start laying the roofing material from the bottom edge, working your way up the roof. Ensure proper alignment and overlap to prevent water seepage.
Secure Roofing Material: Use appropriate fasteners (nails, screws, etc.) as recommended by the manufacturer to secure the roofing material in place.
Step 6: Ridge and Hip Installation
The ridge and hip caps provide a finished look and prevent water penetration at the roof's highest points:
Cut Ridge and Hip Shingles: Cut the shingles to fit the ridges and hips of the roof accurately.
Install Ridge and Hip Shingles: Attach the ridge and hip shingles using the appropriate fasteners and techniques, ensuring a watertight seal.
Step 7: Final Inspections and Cleanup
As you near the completion of the installation process, perform thorough inspections and tidy up the work area:
Inspect for Quality: Check for any misaligned shingles, exposed nails, or imperfections. Fix any issues before proceeding.
Clean the Site: Remove any debris, tools, and equipment from the roof and surrounding area.
Step 8: Post-Installation Maintenance
Maintaining your newly installed roof is crucial for its longevity:
Regular Inspections: Periodically inspect your roof for signs of damage, wear, or potential issues.
Gutter Maintenance: Keep gutters clean and free from debris to ensure proper drainage.
Address Repairs Promptly: If you notice any leaks, damage, or issues, address them promptly to prevent further damage.
are
Embracing the guidance provided in this all-encompassing, systematic manual for roof installation will empower you to establish a robust, enduring, and visually appealing roof that safeguards your home for the years ahead. Should you find yourself uncertain about your roofing proficiency, enlisting the services of skilled roofing contractors are advised to attain optimal outcomes.


Comments ()