
How to Revitalise Your Home With Floor Sanding
Discover why hardwood floors are a top choice for homes. Learn how floor sanding in Melbourne can restore and revitalize your space for a fresh, lived-in look.
Hardwood floors are one of the world’s most popular flooring choices. Natural timber looks fantastic in every setting, and it ages gracefully, giving your home a lived-in appeal.
Regular maintenance can help ensure your floors always look their best. But sooner or later, you’ll need floor sanding Melbourne to bring your flooring back to its former glory.
Floor sanding is a major home improvement project. It’s also a great way to revitalise your space and change the entire aesthetic of your home. In this article, we’ll discuss floor sanding in detail, and the process that’s used to revive your floors.
What is Floor Sanding?
Floor sanding is the process of sanding away the top layer of hardwood flooring. This removes the existing finish and any surface imperfections. The flooring can then be refinished with a new oil or varnish to protect the timber.
Most hardwood floors can last for decades with proper care. But timber is a soft material, and it’s prone to dents, scratches and absorbing moisture. Over time, this affects the look of your flooring, and sanding is the best way to bring it back to its original shine.
Why You Should Invest in Floor Sanding
Investing in floor sanding is a great option for anyone that wants to revitalise their home. It’s also a crucial part of maintaining hardwood floors in the long-term.
Working with a professional floor sander offers four major benefits:
- Revitalise your home – Floor sanding changes the entire look and feel of your home. It’s the best way to update your space, and you can even take the opportunity to stain your flooring a more contemporary colour.
- Extend the life of your flooring – Hardwood floors can last for decades with proper care. You can extend the life of your flooring even further by refinishing them at 5-10 year intervals. While it’s a lot of work, it’s typically much cheaper than replacing hardwood floors.
- Easy cleaning – Freshly finished floors are smoother and easier to clean. They’re also more resistant to moisture, spills and grease, so you can spend less time scrubbing.
- Improved air quality – Dust and dirt can build up in the grain of your timber floors. Sanding and refinishing the floors gets rid of these pollutants, which can improve the air quality in your home.
Is Floor Sanding the Right Option for You?
Having your floors sanded is a large, expensive project. It’s important to make sure the investment is worth your money before you begin. Floor sanding is a great solution if:
- Your floors are made of a natural timber and are thick enough to be sanded back by 2-3 mm, and;
- Your floors are in good condition, with minor amounts of cracking or damage, and;
- Your current finish is damaged or yellowing and you want to revive the timber.
If your floors are excessively rotten or damaged, you may need a more comprehensive floor restoration program.
Similarly, you may not need to completely sand your floors if you just want to change the finish. Some timber finishes can be applied over your existing finish to change the look and feel of your flooring.
The Floor Sanding Process
Sanding and restoring a timber floor is a big project. The process is relatively straightforward, but it can take days or weeks to complete the work.
Most floor sanding teams will follow a process that looks like this:
- Preparation
Preparation is the first step in the process. All furniture, rugs and other items will be removed from the rooms that need to be sanded. The floors will be thoroughly cleaned to remove dirt and debris that will affect the sanding process.
The floor sanding team will also look for any boards that need repair. Small repairs can be done by cutting out and replacing a damaged area. They may also go along and hammer down any visible nails that stick out of the floor too much.
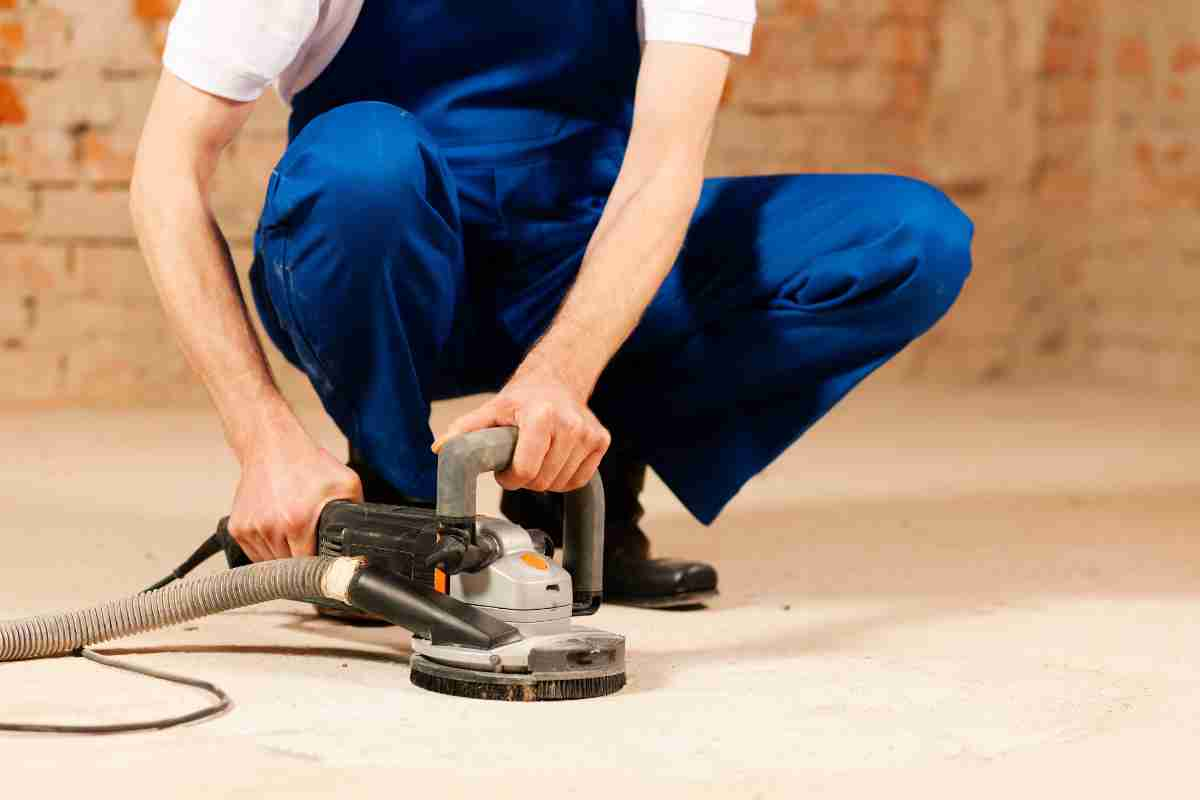
- Sanding and Edging
Sanding is where the majority of the work takes place. Professionals use large sanding machines that can remove lots of material at once.
For best results, floors should be sanding along the length of the grain. This keeps the grain of the wood aligned and prevents it from becoming “furry,” which can interfere with the finishing process.
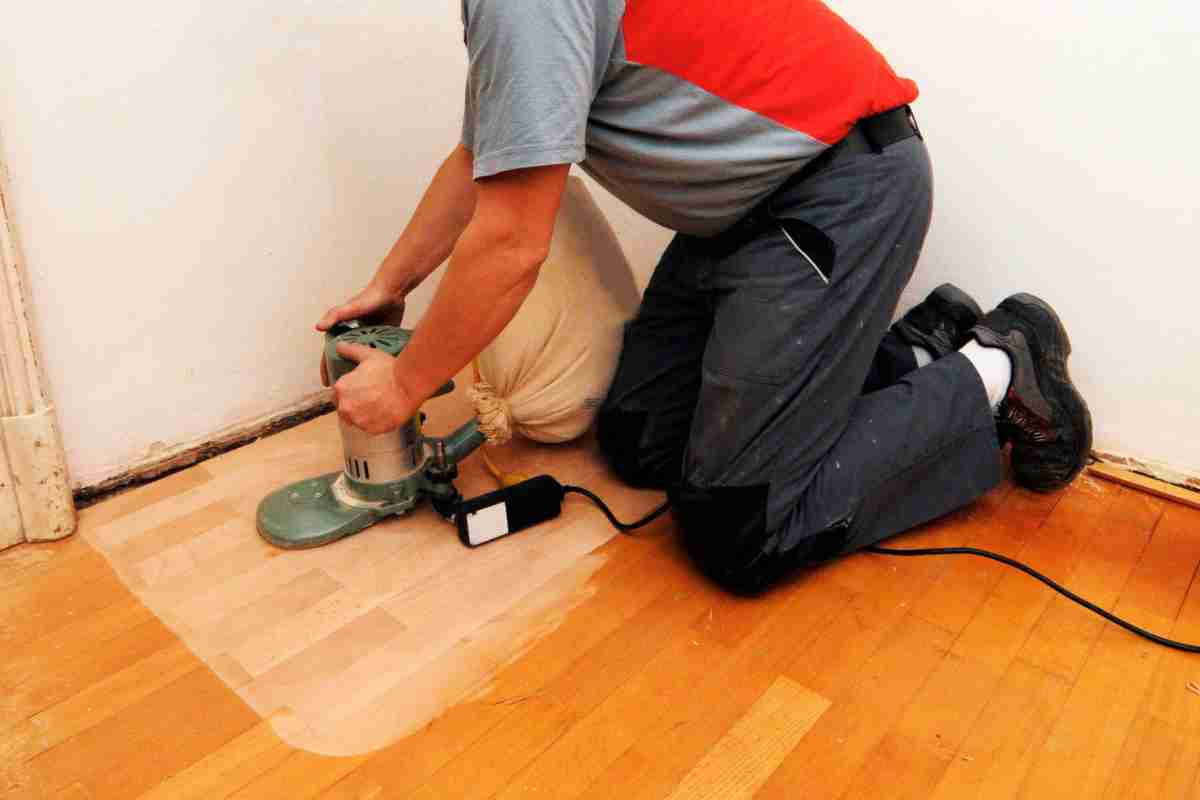
The edges of the floor typically need to be sanded with smaller hand-operated equipment.
- Fine Sanding
Most floors require fine sanding before the new finish can be applied. At this point, the technician will use fine-grain sandpaper to get the floor extra smooth and remove any small imperfections.
- Finishing
Finally, your technician can now apply a new finish to the floor. There’s no shortage of choice when it comes to finishes. You can opt for a stain that alters the colour of the wood, or products such as varnishes and oils that bring out its natural hues.
The finish you choose will determine maintenance requirements and longevity. For most hardwood floors, a hard wax oil is the best option, but varnishes are also popular.
- Polishing
Depending on the condition of your flooring and the look you want to achieve, you may also need to polish your newly finished floors. During this stage, the technician will use increasingly fine grits of polishing compound to remove minor imperfections. This is critical if you want to achieve a bright, shiny appearance!


Comments ()