Flooring Installation Prep Checklist for Homeowners
Get ready for new flooring with this essential checklist. Save time, money, and stress while ensuring a smooth, durable installation for your home.

Getting ready for a new floor? Knock this project out without hiccups. Whether you’re taking on a full-home refresh or revamping a single room, being prepared saves you time, money, and headaches.
Here’s a thorough checklist every homeowner should follow to make the installation smooth and your results durable.
Double-Check Your Scope and Costs
No one wants a surprise bill or work left unfinished. Before your installer shows up, review every line item to make sure you know what you’re getting.
- Check your estimate for any missing details. Look for things like moving furniture, haul-away of old flooring, or special trim work.
- Confirm material quantities with your installer to avoid upcharges or last-minute shortages.
- If you don’t already have a solid estimate, you can create one from a template, this helps you see exactly what’s covered before saying yes.
Pro Tip: Make sure your contractor uses a flooring estimate template made for professionals. When they create one from a template, you avoid handwritten quotes and get a clear, accurate bid for your project instead.
Prep the Space Like a Pro
A little effort today prevents big messes or costly fixes down the road. Make these tasks a priority before the crew arrives.
Plan entry and parking. Reserve a spot for the crew’s vehicle and set up a path for moving materials in and out.
Protect other spaces. Cover nearby vents, doorways, and cabinets with plastic to keep dust and debris contained.
Empty the room fully. Remove furniture, drapes, and wall art to speed things up and ensure nothing gets damaged.
Checklist of Technical Must-Dos
Acclimate and Test
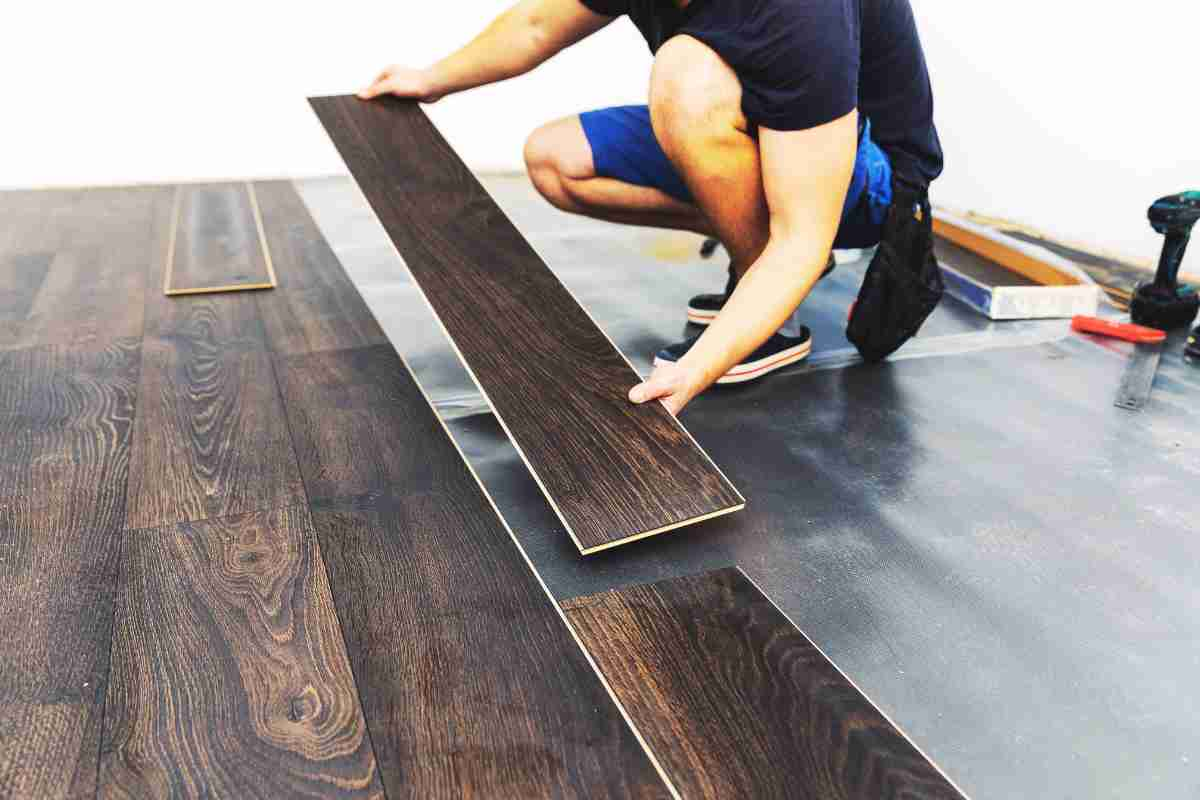
Hardwood, vinyl, laminate, and even some carpets need time to settle in your home before installation. Drop your new flooring in the room two to three days in advance, with boxes opened or panels loosely stacked.
This helps the materials adjust to your home’s temperature and humidity. Next, ask your contractor to check moisture levels in subfloors and concrete. Missing this step can void warranties or cause floors to buckle.
Confirm Door and Trim Adjustments
Measure door clearances. Your new floors may raise the height so it’s a good idea to check early if any doors need trimming.
Look at baseboards and trims. Decide if they will be replaced, covered, or painted after install. Talk to your contractor about transition strips where new floors meet other surfaces.
Pro Tip: Double-check every room’s measurements before installation begins. Accurate prep prevents costly mistakes, saves materials, and ensures a smooth fit. Measure twice, check all details, and you’ll avoid extra trips to the store.
Do Not Forget About Kids and Pets
Renovation days can be chaotic.
Arrange for small children and pets to be out of the house on installation day. Secure gates or barriers to keep everyone safe.
If you have curious pets, ask your installer how to keep tools and materials out of reach.
Schedule Disposal and Cleanup
Decide early how you’ll handle waste, old flooring, and packaging. Some installers include cleanup and haul-off, while others leave it to you.
Plan for clear recycling bins, a dumpster, or check if your city has bulk pickup. It keeps the project on track and your home clean.
Pro Tip: Keep your workspace tidy as you go. A clean and organized area helps installers work faster, reduces safety risks, and protects your home from dust and debris spreading to other rooms.
Technical Summary, in Real Talk
Flooring jobs might seem straightforward, but it’s the little surprises that cause most of the headaches. Things like unknown glue on the subfloor or high humidity can slow things to a crawl.
That’s why professional installers always run checks for moisture, clean the underlayment, and walk through trim adjustments with homeowners. Double-checking your estimate leaves nothing to chance, know what you’rre paying for and what will come after.
In simple terms, doing extensive prep keeps your job quick, clean, and finished to last for years.
Possible Scenarios:
- You brought in new hardwood but skipped acclimating it. A month later, gaps start appearing between the boards.
- You forgot to talk about door trimming. Now the bedroom door scrapes your beautiful new floor every time you close it.
- The estimate from your contractor did not cover hauling away old carpet, and you have piles of debris waiting out front.
A great flooring installation begins with smart planning. Set aside a little time before work starts, and you’ll appreciate the whole process as your fresh floors are installed.
Attention to detail now leads to results that last. Your effort up front means your floors will handle daily use and stay looking sharp for years.
If you’re set to begin, this checklist will keep your project organized, safe, and stress-free. You will have fewer worries and get more time to love your beautiful new floors.


Comments ()