DIY Window Film Installation: A Step-by-Step Guide to Improving Your Home
Transform your home easily with DIY window film installation. Enhance aesthetics, privacy, and energy efficiency with this cost-effective guide.

Enhancing your home doesn't always require a hefty budget or professional help. One simple yet impactful way to elevate your living space is by installing window films. Not only do they add aesthetic appeal, but they also provide practical benefits such as privacy, UV protection, and energy efficiency. In this step-by-step guide, we'll walk you through the process of a DIY window film installation to give your home a cost-effective makeover.
Materials Needed
Before diving into the installation process, gather the necessary materials to ensure a smooth experience. Here's what you'll need:
- Window film kit (includes the film, squeegee, and a utility knife)
- Spray bottle filled with a mixture of water and a few drops of dish soap
- Microfiber cloth
- Measuring tape
- Straight edge or ruler
- Utility knife
- Cutting mat (optional but recommended)
Steps
Step 1: Measure Your Windows: Accurate measurements are crucial for a precise fit. Use a measuring tape to determine the height and width of each window. If your windows are not perfectly square, measure the narrowest width and the longest height.
Step 2: Select the Right Window Film: Window films come in various types, serving different purposes such as privacy, heat reduction, or UV protection. Choose a film that aligns with your specific needs and preferences. Make sure it's large enough to cover your window with some extra allowance for trimming.
Step 3: Clean the Window Surface: Cleanliness is key to a successful installation. Thoroughly wash the window using a mixture of water and a few drops of dish soap. Remove any dirt, grease, or fingerprints, ensuring a smooth surface for the film to adhere to.
Step 4: Cut the Film to Size: Roll out the window film on a clean surface, like a cutting mat if you have one. Use the measurements from Step 1 to cut the film to the appropriate size. A straight edge or ruler can help ensure straight, even cuts.
Step 5: Wet the Window: Fill a spray bottle with the water and dish soap mixture. Liberally spray the window with the solution, creating a wet surface for the film to stick to.
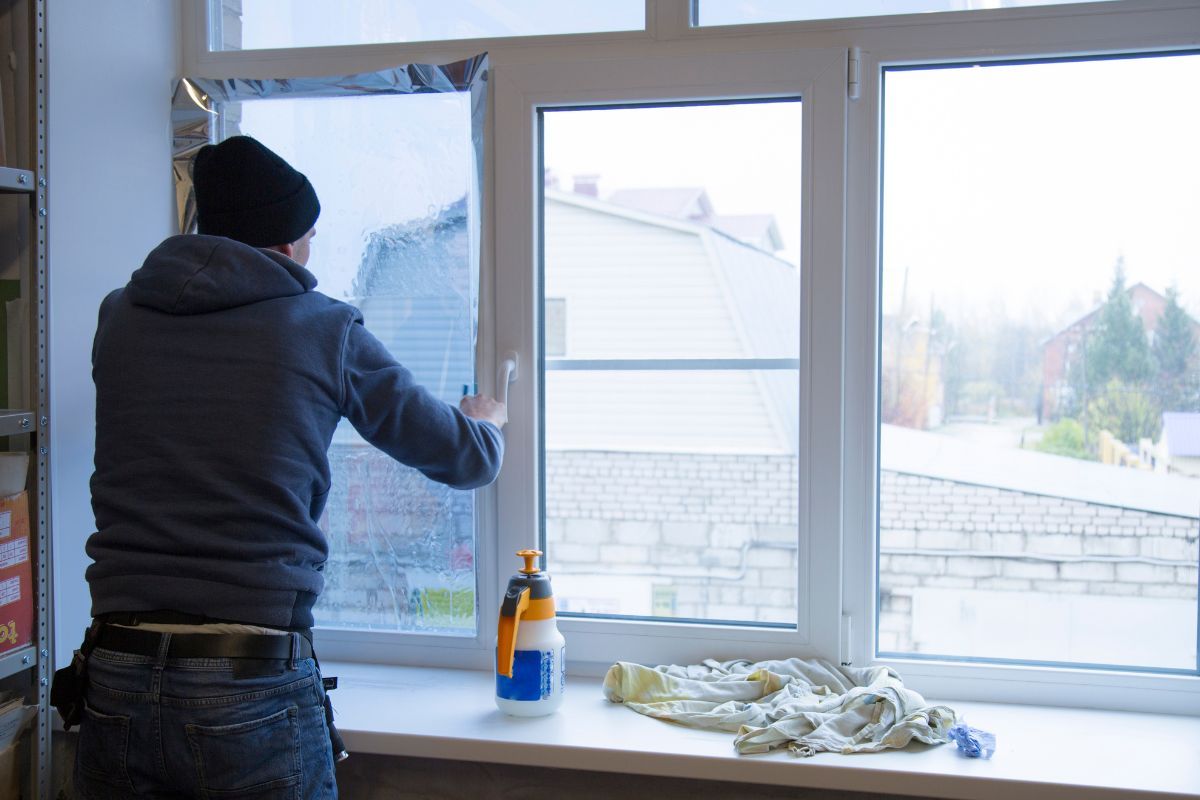
Step 6: Apply the Window Film: Carefully peel off the backing of the window film, exposing the adhesive side. Align the film with the top of the window and gently press it onto the wet glass. Use your hands to smooth out any air bubbles, starting from the centre and working your way towards the edges.
Step 7: Squeegee Out Air Bubbles: Using a squeegee provided in the kit, or any smooth-edged tool, begin in the centre of the window and push any air bubbles towards the edges. This step is crucial for a seamless and bubble-free finish.
Step 8: Trim Excess Film: After successfully applying the film, use a utility knife to trim any excess material around the edges. Ensure the blade is sharp for clean cuts.
Step 9: Final Touches: Wipe down the window with a microfiber cloth to remove any remaining water or soap residue. Admire your newly installed window film, appreciating the enhanced aesthetics and functional benefits it brings to your home.
DIY window film installation is a cost-effective and rewarding home improvement project that anyone can tackle. With just a few materials and a bit of patience, you can transform your living space, adding privacy, protection, and style to your windows. So, roll up your sleeves and let the natural light shine through your newly upgraded windows!


Comments ()