
DIY Home Electrical Troubleshooting: The Basics
Not all electrical work demands an electrician. Some things can be fixed with simple enough knowledge.
Introduction

Ganesh is a classic example of a guy who believes; Why work? When you can pay someone else to do it.
He has a house help to keep his house clean.
A maid to do all the cooking
He even has people to put his clothes into the washing machine!
Needless to say, Ganesh has never known any DIYs due to the way he was raised.

But that is going to change, as today is the day Ganesh will experience helplessness for the very first time in his life.
The month is June, which means it is monsoon. And while monsoon is a favourite for many, there are some things that come with monsoon, which are not so great. Potholes are filled with water, constant electricity cut-offs, mosquito infestation, and no communal meeting, to name some.
For Ganesh's case, we will be focusing on the electricity part.
As is the custom with the monsoon, whenever it arrives, it brings power cuts with it. And it just so happens that our beloved Ganesh was one of the victims this time.
Since it had been raining heavily, none of the helpers were available and the electricity cutting off was the last straw for him.
Ganesh decided to call up the security guard
For the 4th time

It's going to take more than just some light rain and power cuts to make me work, Ganesh thought.
Unfortunately for Ganesh, it was just the start of his hardship. Just as Hercules had to perform the labours, Ganesh too was about to stand the test of hardships that come with everyday life.
The Labours
The 1st Labour
The first labour came in the form of a fried fuse in Ganesh's extension cord. The electricity came back, but the extension cord was not working for some reason.
A confused Ganesh started to call his house helps to see if one of them could come and fix it for him. Unfortunately for Ganesh, he was to trudge all alone this time.
With no one to help him this time, he decided to take matters into his own hands.
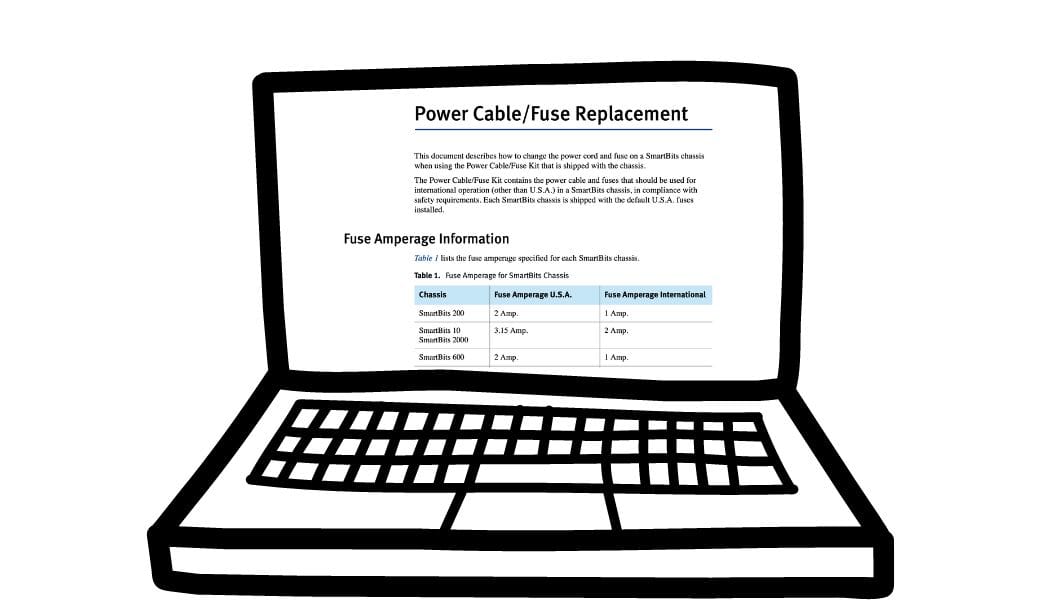
Having read how to change the fuse online, Ganesh was now ready.
Ready to change the fuse of an extension cord.
Alright then, let's begin, Ganesh said to himself:
- Before working on the extension cord, unplug it from the power source. This is to prevent any sort of electrical accident.
- Identifying the fuse is the next. After locating the fuse compartment on the plug of the extension cord, the fuse is visible. It'll be in the shape of a small rectangle or cylinder.
- Now open the fuse compartment using a small screwdriver to open the fuse compartment.
- Remove the old fuse: Carefully pull out the old fuse from its holder. You may need to use your fingers or a pair of small pliers to grip and pull it out gently. Be cautious not to damage the fuse holder or any other parts of the cord.
- Insert the new fuse with the correct rating into the empty fuse holder. Make sure it is properly placed.
- Test the extension cord by connecting it to a power source. If the cord powers on, then operation: fuse replacement is successful.

Ganesh had never felt so ecstatic and accomplished before.
Inspired by his newly found source of dopamine, he decided to fix the other things he had planned to make the house helps do.
The 2nd Labour
The store room had been long ignored by Ganesh. The flickering bulb reminding him of every horror movie he ever watched. But with his newfound source of confidence, Ganesh had overcome that fear and was ready to change the bulb.

Ganesh sat down with the printout in his hand and started reading -
Light bulbs often burn out, and replacing them is a straightforward task.
- Turn off the light switch and allow the bulb to cool before removing it and installing a new one.
- If you wish to replace a light fixture, ensure the power is off, disconnect the old fixture, connect the wires of the new fixture, and secure it in place according to the manufacturer's instructions. Remember to select appropriate fixtures for each room.
- Make sure you are properly insulated. Wearing shoes or sandals will help you better insulate.
After a while of screwing and unscrewing, the light bulb in the store room had been fixed to its former glory.
Another win in the books for Ganesh
The 3rd Labour
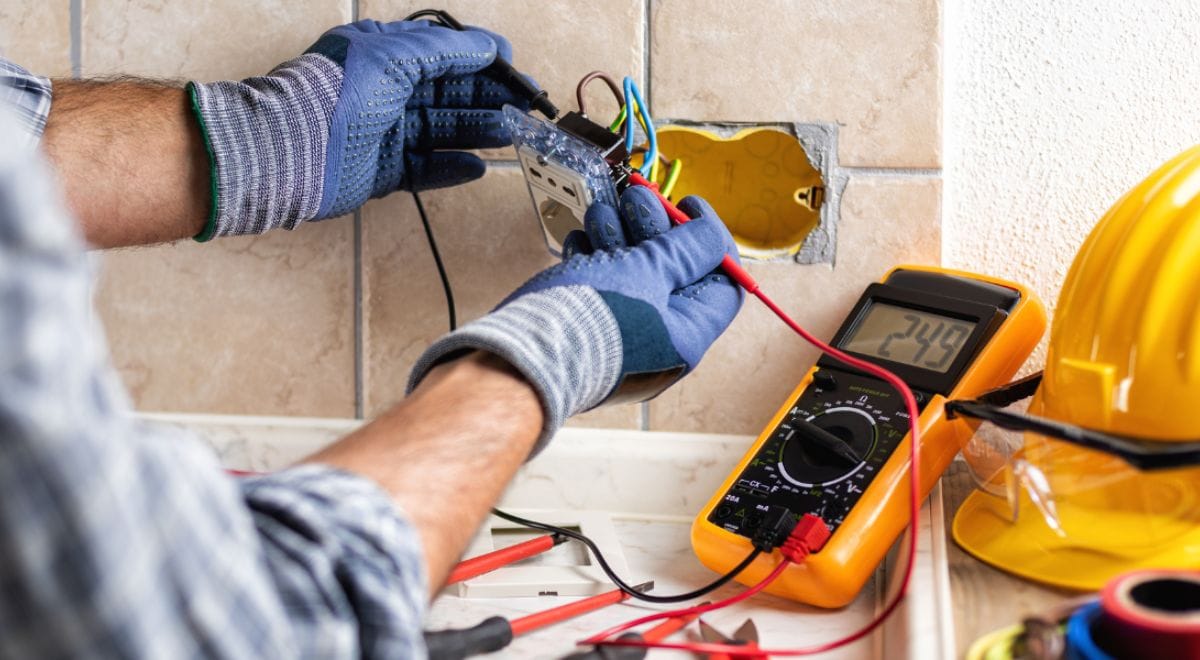
The third and final labour was replacing the switch in the MCB that connects to his bedroom

Ganesh opened another printout -
Follow the steps mentioned below and don't forget to take necessary precautions regarding your safety. If at any point you feel like you cannot do it yourself, do not hesitate in calling in an electrician, as it is better to be safe than sorry.
Before you begin, gather the necessary tools like a voltage tester, insulated screwdriver, wire cutters, and wire strippers. If you don't have any of the aforementioned tools, just buy them from a local hardware store. They are not that hard to find.
- Remove the faceplate by unscrewing it using a screwdriver. Keep the screws in a safe place for reassembly.
- Disconnect the wires carefully by pulling the outlet or switch from the electrical box. This will expose the wires. Now don't just start disconnecting everything, and firstly take a picture or note the connections. It'll come in handy when you are reconnecting it later.
- Unscrew the terminal screws and remove the old switch. Be extra careful and make sure the wires don't touch each other or any metal surfaces. Disconnect the wires from the old switch and don't forget to note the colour-coded connections.
- Install the new switch by connecting the wires to their respective terminals on the new switch. Follow the colour-coded connections. Make sure the connections are secure by properly tightening the screws.
- Reassemble and test the new switch by closing everything properly. Check if the wires are pinched or in contact with any metal surface, if so, carefully place them in such a way that they are free of any contact. Now put the faceplate back.
- The last thing that remains is to restore the power and test the new switch. This is the make-or-break moment for you. Test the newly installed switch by turning the switch in your room on/off.
Congratulations! You just completed one of the hardest tasks for someone with zero to very little knowledge about how the electricals work!
For anything more than this, you should definitely call the electrician. They are more suited for work that requires a certain level of expertise. But how will you tell that your apartment needs an electrician? Well, there are a few telltale signs that might be right in front of you yet you don't see them.
But for now, celebrate this win. You have earned it, as has Ganesh.


Comments ()