Ceiling Fan Installation: A Step-by-Step Guide for Homeowners
Learn how to install it yourself with our easy-to-follow guide. Step-by-step instructions for a safe and efficient installation.

Installing a ceiling fan is a practical and cost-effective way to enhance the comfort and ambiance of your home. A ceiling fan provides a cooling effect during the warmer months and can also help circulate warm air in cooler temperatures, making it a useful fixture year-round.
This comprehensive guide will walk you through the step-by-step process of ceiling fan installation in your home, ensuring you have all the information you need to complete the task efficiently and safely.
Understanding The Basics Of Ceiling Fans
Before beginning the installation of a ceiling fan, it’s crucial to clearly understand its various components and the different types available on the market. This foundational knowledge is essential for selecting a fan best suited to your specific needs and the characteristics of your space. Ceiling fans differ in size, design, functionality, and additional features.
On the other hand, essential key components of a ceiling fan:
- Motor: It drives the blades and determines the efficiency and performance of the fan.
- Blades: Usually three to five per fan, they can vary in length and pitch to affect air movement and efficiency.
- Mounting Bracket: It secures the fan to the ceiling and must be sturdy to handle the weight and motion.
- Downrod: It’s used in rooms with high ceilings to position the fan at an optimal height for air circulation.
- Control System: It may include pull chains, wall switches, or remote controls to adjust speed and lighting.
Furthermore, there are different types of ceiling fans, such as the following:
- Standard Ceiling Fan: This is common in most homes and available in a wide range of styles.
- Low Profile (Hugger) Fan: This is ideal for rooms with low ceilings as it mounts flush with the ceiling.
- Outdoor Ceiling Fans: They’re designed to withstand weather conditions, perfect for patios and porches.
- Industrial Ceiling Fans: They’re larger and more powerful, which are suitable for large, open spaces such as warehouses or large halls.
- Dual Motor Fans: They feature two adjustable fan heads, which provide more coverage and air flow customization.
Understanding these components and types ensures you choose a ceiling fan that fits the aesthetic of your room but also performs efficiently according to your environmental needs. This preparation will streamline the installation process and enhance overall satisfaction with your ceiling fan investment.
However, if you need more detailed information about ceiling fan installation, especially in specific environments like apartments, you may check out reputable online resources or talk to experienced professionals for more insights.
Preparation: Tools And Materials Needed
Before you start your ceiling fan installation, gathering the right tools and materials is essential. This preparation ensures a smooth and efficient process. Below is a comprehensive list of everything you’ll need:
- Screwdriver
- Wire strippers
- Ladder
- Ceiling fan kit
- Electrical tape
- Voltage tester
- Safety glasses and gloves
Prepare your workspace by clearing the area and safely setting up the ladder. To avoid electrical hazards, turn off the power at the circuit breaker.

Steps For Installing A Ceiling Fan
Installing a ceiling fan is a straightforward task that can greatly enhance the comfort of your home. Below are the detailed steps that will guide you through the installation process:
Step 1: Removing The Existing Fixture
When replacing an existing light fixture with a ceiling fan, start by ensuring all power is disconnected at the circuit breaker to prevent any electrical accidents. Carefully remove the fixture by unscrewing the mounting nuts or screws that secure it to the ceiling. Support the fixture as it comes down to avoid any damage or strain on the wiring.
Once lowered, disconnect the fixture by untwisting the wire nuts that connect the fixture wires to the house wiring, separating them completely. This clears the way for the new ceiling fan installation, ensuring a safe and clean setup.
Step 2: Installing The Fan Bracket
The fan bracket is a vital component in ensuring the secure and stable installation of your ceiling fan. It serves as the primary support, handling the dynamic loads and vibrations when the fan is in operation. Start the installation by aligning the bracket with the existing electrical box in your ceiling, which must be capable of supporting the fan’s weight. Using the screws included in your ceiling fan kit, securely attach the bracket to the box.
It’s also critical to ensure that the bracket is tight and perfectly level. A level bracket prevents the fan from wobbling, which can lead to wear and noise, thus ensuring safe and stable operation. Always double-check all connections and alignments to avoid any potential issues once the fan is running.
Step 3: Wiring The Ceiling Fan
To wire the ceiling fan, start by aligning the corresponding wires from the fan to those in the electrical box: typically, connect black to black (hot), white to white (neutral), and green or bare copper (ground) to the green or bare copper wire in the box. Use wire nuts to twist and secure each connection firmly.
After all connections are made, wrap them with electrical tape for added security and insulation. This step is vital for both the functionality and safety of the ceiling fan, ensuring all connections are reliable and well-protected.
Step 4: Attaching The Fan Blades And Canopy
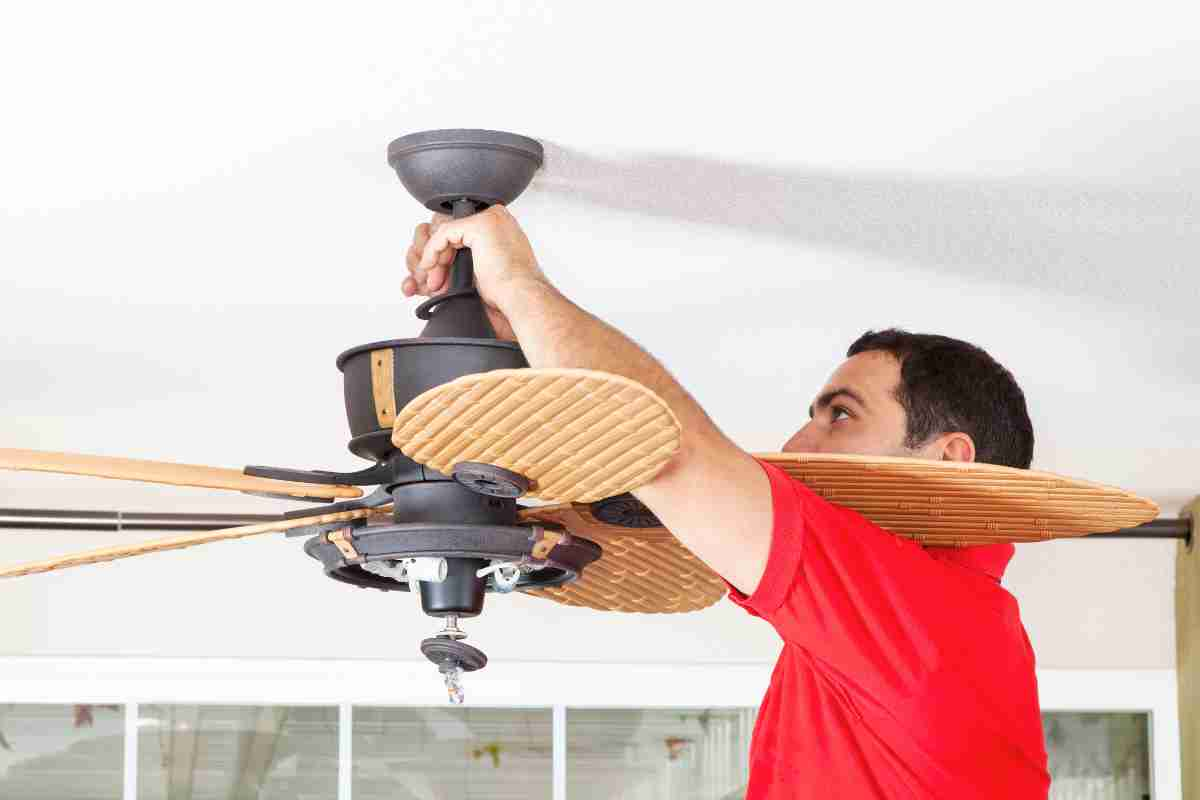
First, assemble the fan blades to the motor while it’s still on the ground. This approach is generally easier and safer than trying to attach them while the motor is hanging. After the blades are securely fastened, lift the motor to the ceiling and hook it onto the installed bracket. Ensure it’s securely in place to prevent any movement.
Finally, position the canopy—the decorative cover around the bracket—sliding it up to the ceiling and fastening it with screws. This conceals the installation hardware but also provides a neat and finished look.
Step 5: Installing The Light Fixture (if applicable)
If your ceiling fan model includes a light fixture, attach it after the fan itself is installed. Follow the manufacturer’s detailed instructions for connecting the light kit. Typically, this involves connecting the light’s wires to the corresponding ones extending from the fan’s motor using wire nuts.
Once wired, mount the light fixture according to the instructions, ensuring it’s securely attached and that all electrical connections are safely housed within the canopy or motor housing. This step adds functionality and aesthetic appeal to your ceiling fan, enhancing both illumination and air circulation in your room.
Testing And Enjoying Your New Ceiling Fan
Once the installation of your ceiling fan is complete, the next step is to ensure it functions correctly. Start by turning the power back on at the circuit breaker. This is an essential safety step to prevent any accidental electrical incidents during the setup. After restoring power, use the wall switch or remote control to activate the fan. Follow these steps to thoroughly test all aspects of your ceiling fan:
- Check Fan Speeds: Test each speed setting to ensure the fan operates smoothly at low, medium, and high speeds. Listen for any unusual noises, which could indicate an issue with the installation or motor.
- Test Direction Switch: Many fans have a switch to change the direction of the blades. Ensure this switch is functional, as the direction needs to be adjusted seasonally for optimal air flow.
- Operate Light Fixture: If your fan includes a light, test it through its range of brightness settings (if applicable) and ensure it turns on and off without issues.
- Perform Visual Inspection: Look at the fan while it’s running to check for wobbling or other movements that could suggest that the installation needs adjustment.
By conducting these tests, you can confidently enjoy your new ceiling fan, knowing it’s operating efficiently and safely.
Maintenance And Safety Tips
To maximize the lifespan and performance of your ceiling fan, regular maintenance is crucial. Here are detailed tips and safety measures to keep in mind:
- Clean Fan Blades Regularly: Dust and debris can accumulate on the blades, leading to unbalanced operation and reduced efficiency. Clean the blades monthly to ensure smooth operation.
- Tighten Screws and Fittings: Regularly check and tighten any loose screws or fittings, as these can cause the fan to wobble or make noise. This should be done at least once per season.
- Inspect the Electrical Box: Verify that the electrical box in the ceiling is specifically rated to support a ceiling fan. Fans are heavier and vibrate more than typical light fixtures, so a standard box may not be sufficient.
- Check the Motor Housing: Inspect the motor housing for signs of dust accumulation or overheating. Keep it clean to prevent any fire hazard or failure.
- Lubricate the Motor: If the fan’s motor isn’t sealed, apply appropriate lubricant annually to ensure smooth operation and to prevent noise.
These maintenance steps can help extend the life of your ceiling fan and enhance its performance and safety. Regular upkeep can help prevent potential hazards and ensure your fan remains a beneficial addition to your home.
Conclusion
With the right tools and patience, ceiling fan installation can be a straightforward DIY project that enhances your home’s comfort and appeal. By following these detailed steps, you can ensure a safe and successful installation.


Comments ()