Painting Wood - A Ready Reckoner
Painting wood is different from walls since wood absorbs paint. Follow the steps below for perfect results. Detailed process included.
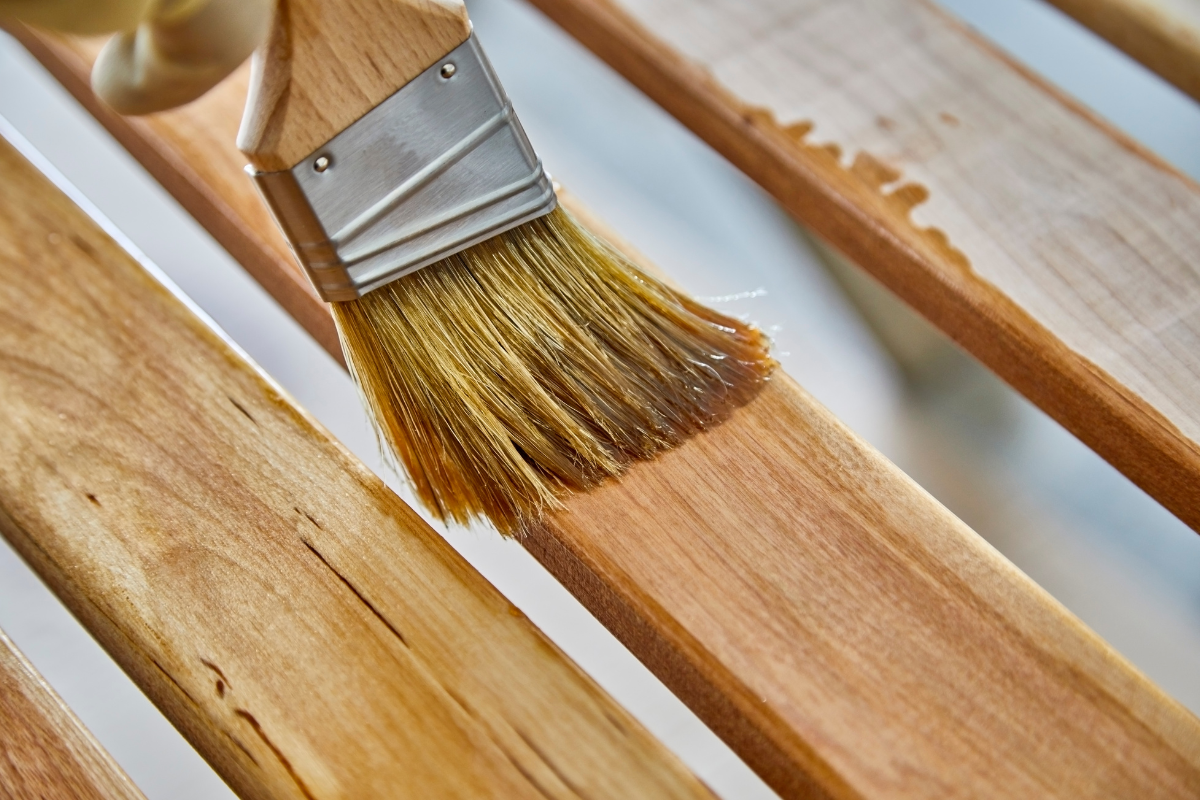
Painting wooden surfaces is very different from painting a wall because wood acts like a sponge and absorbs paint. This is the reason why wood needs more surface preparation work. Make sure the paint crew follows the steps listed below to give you perfect results.
The complete process is described in detail below to help you along the way.
Pre-Prep Work
Identify the area that needs to be painted or polished, and wooden surfaces that have been stained or damaged. Start with covering the work area to avoid any splatters on walls and floors. Make sure the area is clean and dry before beginning paint work and ensure good ventilation and natural light.
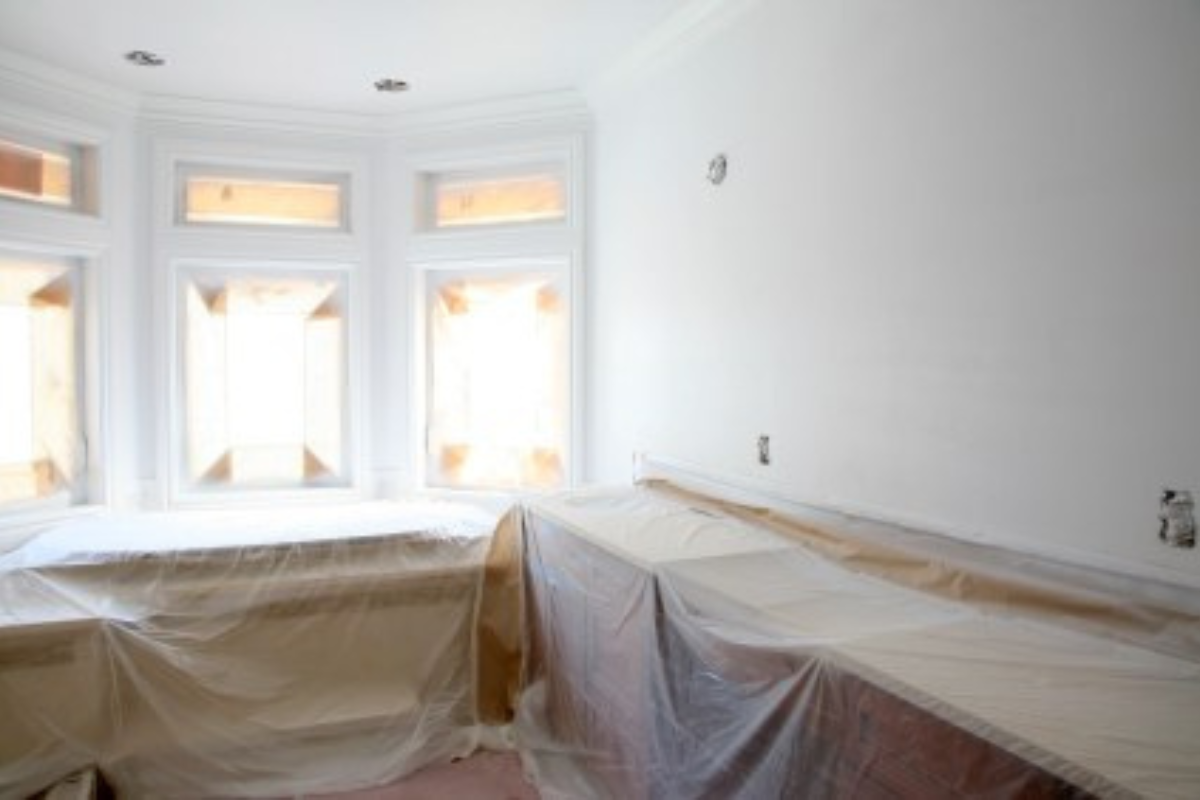
Cover up surfaces to protect from paint splashes
Surface Readiness
For any paint job to look great in the end, it is imperative to prepare the surface properly. The surface readiness of wood depends on whether the wood is unfinished, painted or varnished. Always make sure that your crew has all the necessary tools handy a sand paper, cloth, water, a sanding block and stiff brushes to get started.
First coat of Primer
The primer coat is a crucial part of the paint job. Make sure that your painters have primed the surface with at least one coat to give the final look a smooth finish. Primer also helps in making the surface less absorbent making the paint spread easily. It also provides a uniform texture and better adhesion to top coats. Apply the first coat and wait until it’s dry.
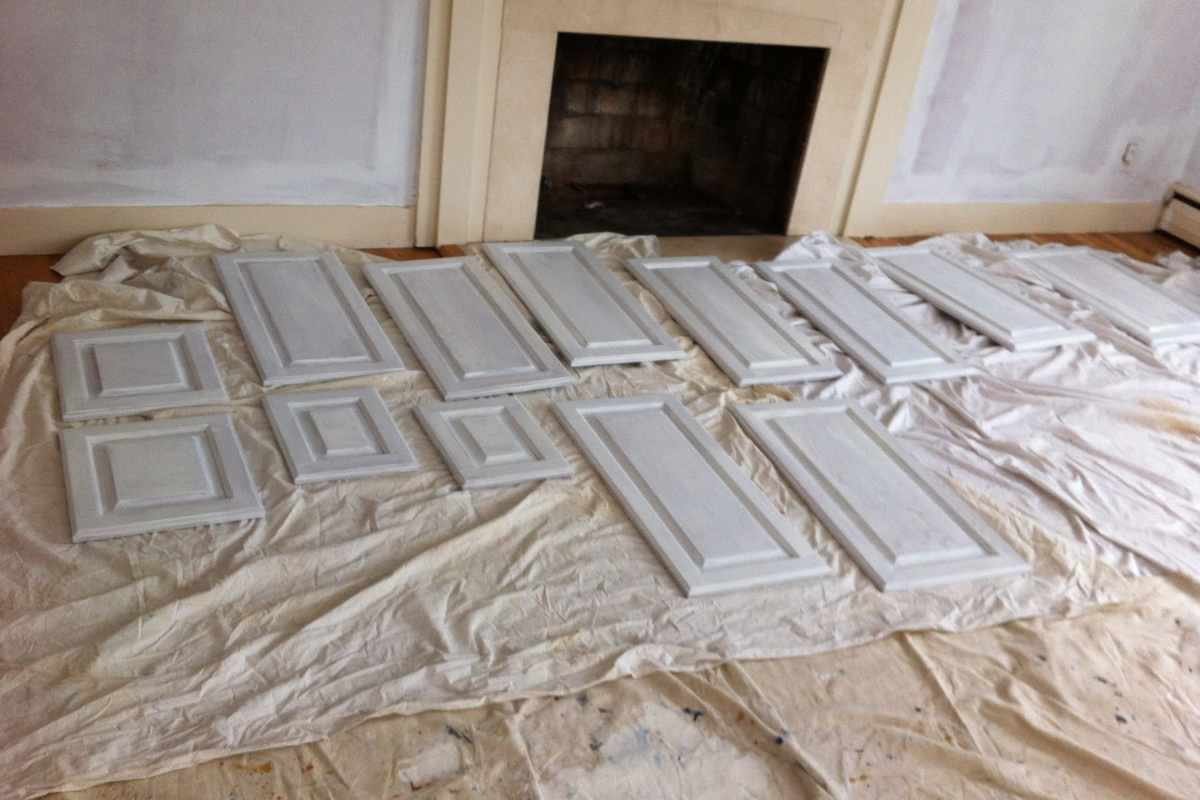
Raw Or Unfinished Wood
In this case, begin with sanding the surface with medium-grain sandpaper. The sanding process helps in the proper adhesion of the paint to the wood and removes any imperfections from the surface.
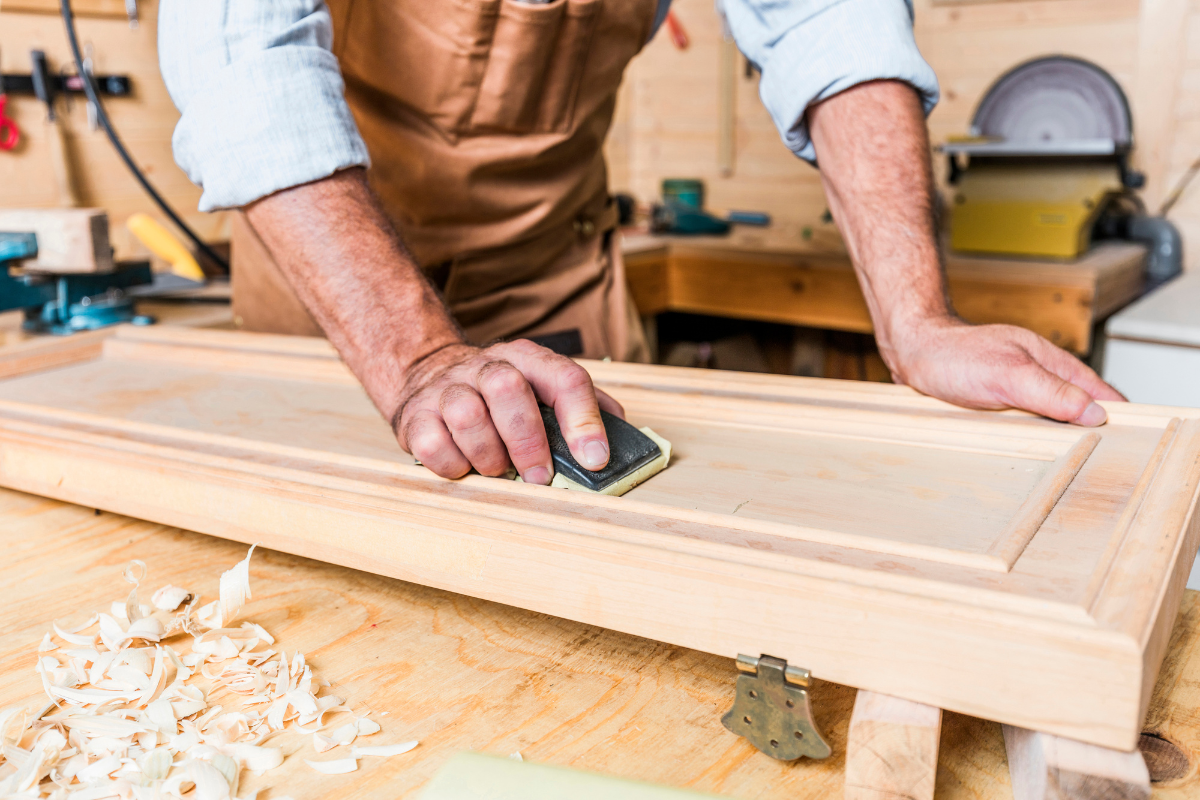
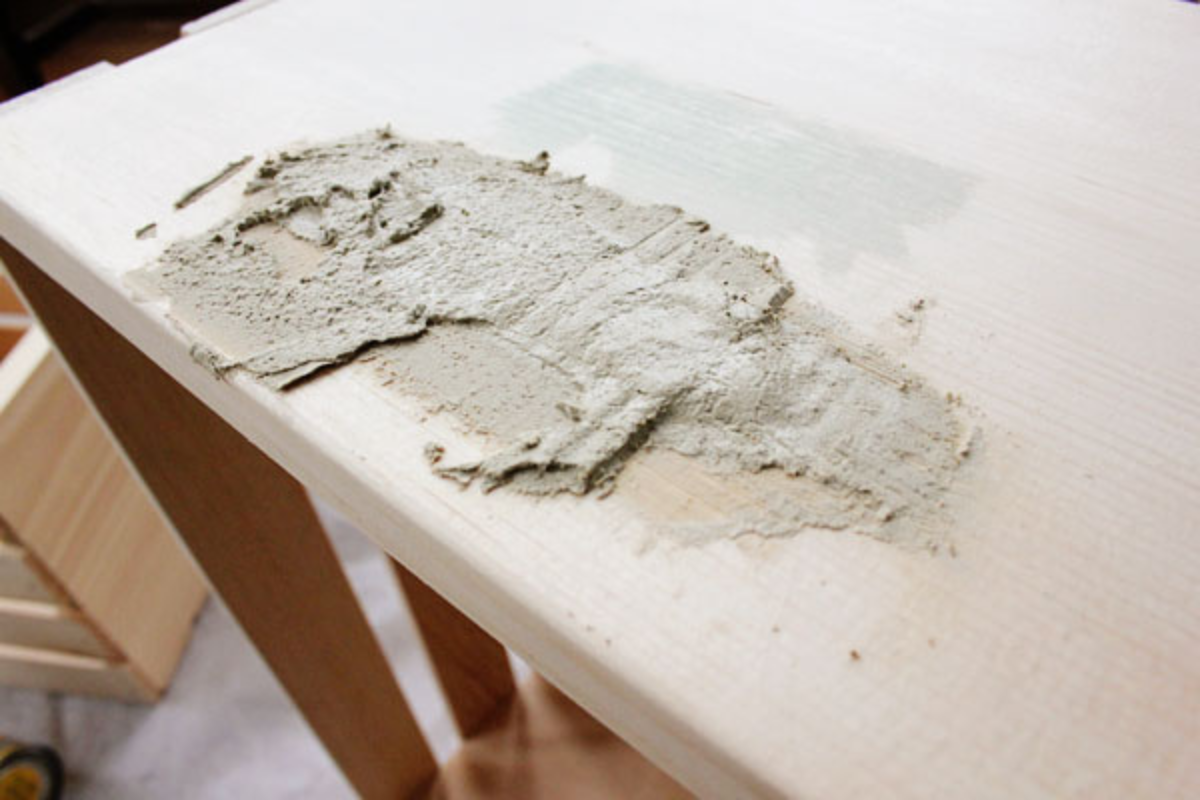
Clean the unfinished wood surface with a slightly damp cloth to remove the grit and the sawdust. Apply a suitable wood filler to fill all any holes or cracks.
Stained Or Painted Wood
If the wood is already painted or coated, the first step involves cleaning the surface with soap and water and rinsing to remove any impurities.
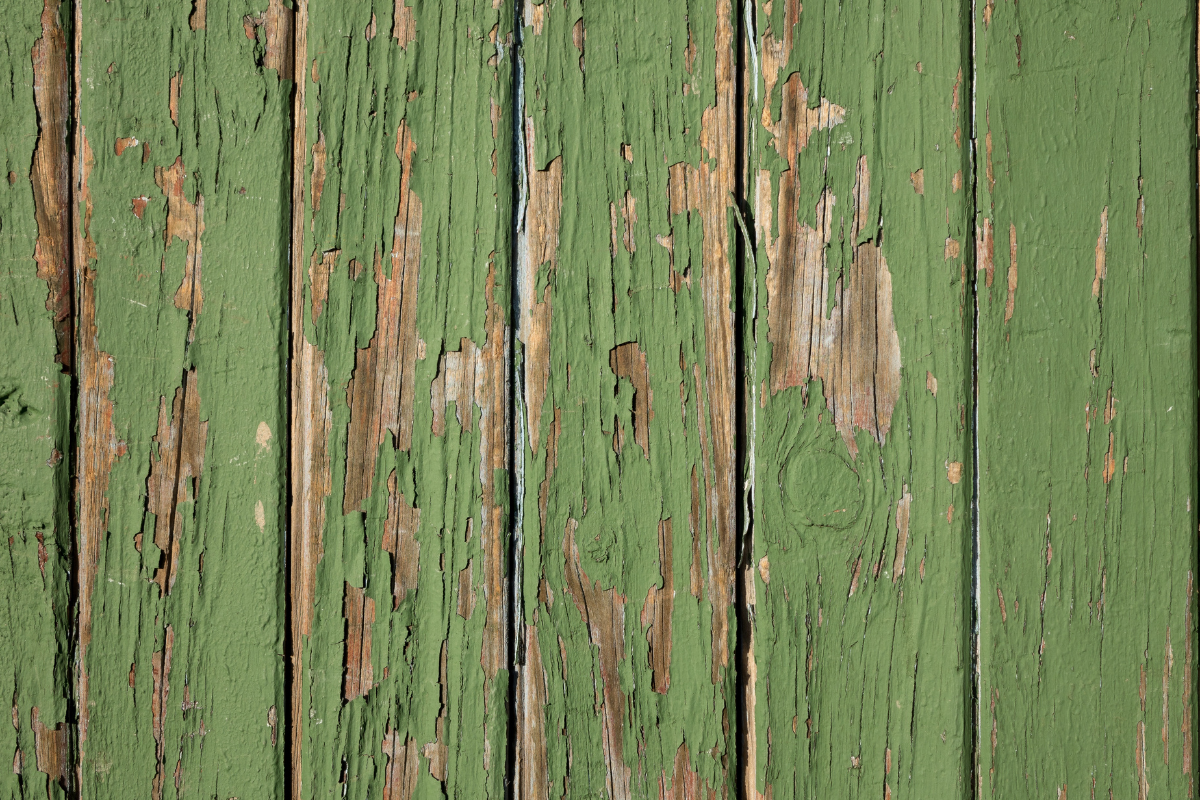
Sand the surface gently to remove any loose paint chips. Always sand in the direction of the grain. Wipe the surface after sanding.

Use wood filler to fill all the holes. Once the filler is dry, scrape away excess lumps by sanding along the grain pattern. Clean the surface again with a soft cloth.

If the wood isVarnished, Varnished surfaces need more sanding than the regular unfinished or painted wood.

Prepare by washing andrinsing like the painted wood

Roughly sand the surface to remove the gloss so that the primer can adhere to the surface firmly. Wipe the area after sanding.
Use wood filler to fill all the holes and cracks

Second Primer Coat
For the paint to stick properly to the surface, another coat of primer is a must. It also provides a smooth and long-lasting finish. 2 coats of primer are necessary depending upon the type and color of the wood. Give at least 6 to 8 hours to dry after each coat.

Final Touch
Wood finishes can be divided into 2 categories:
Opaque Finish
Use the traditional panels for opaque finish. Ask the crew to brush paint the enamel onto theprimed surface. You can give two coats of paint depending upon the finish you need.

Clear finishes
For the clear finish,you can use a variety of paints like lacquer, wood glow etc. Apply with brush after primer has dried completely. You can choose to go for two coats depending on the finish required.

With this ready reckoner you are equipped to deal with a paint crew or attempt a fun weekend DIY painting project if you like. Paint away!


Comments ()