
When Installing New Grass, Make Sure Your Grade Is Right
Protect your home from water damage. Learn how to achieve perfect lawn grading in this blog for a beautiful and healthy yard.
Did you know over 40 million acres of land in the US alone are covered by lawns? They're a beautiful addition to any property, but that can quickly turn into a soggy nightmare if you don't take proper drainage into consideration. [1]
Standing water, patchy growth, and frustrated sighs — these are all signs of a poorly graded lawn. However, taking control of your yard's slope can help you avoid these problems and transform your lawn dream into a thriving reality.
So, how do you make sure you get your grade right? Read on for some tips.
- Plan for Drainage
Unfortunately, water damage affects about 14,000 people in the US every day. To make sure this isn't the case on your end, you've got to plan for drainage. Here's what you need to know about this crucial stage: [2]
- The Slope Matters: Your lawn needs a gentle slope that angles away from your house (¼ inch to ½ inch drop per foot is ideal). This prevents water from pooling around the foundation, which can lead to problems down the road.
Don't have a fancy level? Tie a string to two stakes, one near your house and another further out. Fill a bucket with water and pour it along the string. The water should flow gently away from the house, mimicking the desired slope.
Considering tackling the grading yourself? While DIY is possible, remember that proper drainage is critical for your home's foundation.
Think about it — water damage and freezing account for a whopping 24% of all home insurance claims. However, damage caused by lack of maintenance, including poor grading, often falls outside coverage. [3]
So, if you're unsure about achieving the perfect slope, consider inviting experts specializing in yard grading for drainage. They can ensure your lawn is graded correctly, preventing future headaches and protecting your investment.
- Visualize the Flow: Water should flow smoothly towards a ditch, curb, or natural drainage area. This ensures excess water doesn't linger and damage your grass.
- Call Before You Dig: Calling your local utility locating service (usually free!) can let you in on where underground pipes and wires are. Search online for ‘[your state] + utility locating service’ or call 811, the national ‘Call Before You Dig’ number, a few days before you plan to excavate. They'll mark the location of underground utilities with paint or flags.
- Know Your Soil: Once you know your soil type, you can choose the best method for establishing a healthy and beautiful green space.
Soil Types
There are three main types: sandy, clayey, and loamy (a perfect blend of both).
- Sandy soil: It rains very well but struggles to retain moisture and nutrients.
- Clayey soil: It holds onto water too tightly, suffocating roots and preventing proper drainage.
- Loamy soil: This is a balanced mix of sand, silt, and clay that provides good drainage, aeration, and nutrient retention.
There are two ways to determine your soil type:
- The Feel Test: Grab a handful of moist soil and squeeze it. Sandy soil crumbles easily, while clay forms a ribbon shape. Loamy soil will hold its shape somewhat but crumble when poked.
- Soil Test Kit: Grab one at your local garden center. It'll tell you your soil type and even the pH level. This information is crucial for picking the perfect grass for your yard.
Once you've mastered the art of grading, it's time to think about how your lawn will come to life! There are two main options to consider, each with its own advantages:
- Sod Installation: If you don't want to wait for grass to grow, sod is your answer. Experts will bring in pre-grown turf, and just like that, you’ve got an instant lawn.
- Hydroseeding: If you’re more patient and want a lawn tailored to your soil? Hydroseeding is the best option. It's about spraying a special mix of grass seed, water, and fertilizer directly onto your soil.
The big perk? You can choose the exact seed blend that loves your unique soil and weather conditions, unlike sod which has limited choices.
No matter which method you choose, consider getting some advice from hydroseeding and sod installation pros. They can help you make sense of your soil test results, recommend the best grass varieties, and guide you through the entire process.
Once you've finalized your green dream and chosen your installation method, it's time to prep your base.
- Mark Your Edges
Marking your lawn's edges is a simple step with big benefits:
- Clean Lines: Stakes and string can ensure your new lawn has straight, clean edges. This not only looks aesthetically pleasing but also helps prevent unwanted grass from creeping into flower beds or walkways.
- Accurate Measurements: Knowing the perimeter of your lawn allows you to accurately calculate the amount of sod or seed you'll need. This saves you money and ensures you have enough material to complete the project.
Here's how to easily mark your lawn edges:
- Gather your supplies: Grab some stakes (tall nails or metal rods work well) and string (twine or yarn is perfect).
- Define the perimeter: Walk around the area you want to turn into a lawn and push the stakes into the ground at regular intervals (every three to four feet works well).
- Connect the dots: Tie the string to one of the corner stakes and weave it around the rest of the stakes, creating a continuous loop that outlines your desired lawn area.
By taking a few minutes to mark your edges, you'll be setting yourself up for a successful lawn installation with clean lines and the perfect amount of materials.
- Set the Grade
Grading is all about creating the perfect slope for your lawn to ensure proper drainage and a healthy foundation for your grass. Here's a breakdown of this step:
- Setting the Stage: Grab your level and stakes. Use the level to establish the desired slope (¼ inch to ½ inch drop per foot away from your house is ideal) and mark it with the stakes at various points along your lawn's perimeter. For larger areas, consider using a laser level for extra precision.
- Rough Grading: This part is all about removing or adding soil to achieve the planned slope. For smaller areas, a shovel will do the trick. For bigger projects, consider renting a sod cutter to efficiently remove existing grass and make room for new soil. This can save you significant time and effort.
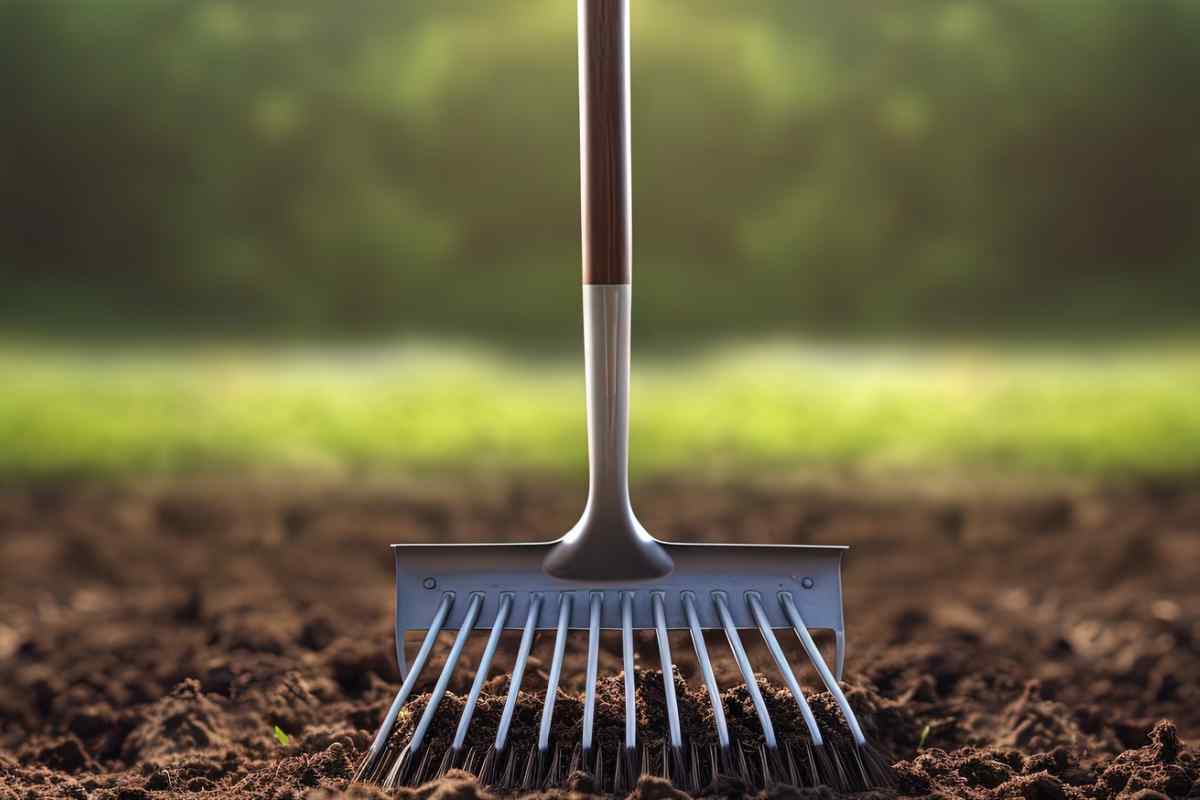
- Fine-Tuning Your Landscape: Once the rough grading is complete, it's time for the finishing touches. Use a rake or a landscaping drag to smooth out any uneven spots and ensure a consistent slope throughout your lawn.
- Double-Checking Your Work
Throughout the grading process, constantly re-check your work using the level and stakes. This ensures your slope remains accurate, and your future lawn will have the drainage it needs to thrive. Don't be afraid to make adjustments as you go — it's better to catch minor errors now than deal with drainage problems later.
- Tamping
Once you've mastered the art of grading, it's time for the finishing touches that will transform your newly shaped earth into the perfect place for a flourishing lawn. After achieving the perfect grade, it's essential to compact the soil. This prevents uneven settling and ensures a smooth surface for your lawn.
Your best friend for this task is a lawn roller. Fill it with water (according to the manufacturer's instructions) and slowly roll it back and forth across the entire lawn area.
- Addressing Drainage Trouble Spots
Even the most meticulous grading might leave behind a few low spots where water can pool. Don't worry, there are simple fixes:
- Swales and Channels: These are shallow, V-shaped depressions you can create with your shovel in low-lying areas. They act like mini-drainage ditches, directing any leftover water toward your designated drainage zones (ditches, curbs, etc.).
- French Drains: These are a more permanent solution for areas with persistent drainage issues. A French drain involves digging a trench, lining it with filter fabric, and filling it with water-permeable gravel, which allows water to collect and then slowly drain away from the problem area.
- Raised Beds: If the low spot is significant and a French drain seems excessive, consider creating a raised bed in that area. This involves adding a layer of topsoil to create a higher elevation for planting flowers, shrubs, or other non-grass plants. This transforms the low spot into a beautiful design element while solving the drainage problem.
Remember, the best solution depends on the severity of the drainage issue and your overall landscaping goals. For minor pooling, swales are a simple and effective solution. For persistent problems or areas you'd like to dedicate to other plants, French drains or raised beds might be better options.
- Creating a Clean Edge
Installing edging around your new lawn adds a polished look and provides several benefits:
- Clean lines: Edging creates a crisp definition between your lawn and flower beds or walkways, enhancing the overall aesthetic of your yard.
- Grass control: Edging acts as a barrier, preventing unwanted grass from creeping into unwanted areas and saving you time on trimming in the future.
When choosing edging, you have options:
- Plastic: affordable and easy to install, but might not be as durable as other options
- Metal: more durable and long-lasting than plastic, but can be more expensive
- Brick or stone: Creates a classic, natural look, but requires more effort for installation
No matter your choice, edging will add a polished touch and keep your beautiful lawn looking its best for years to come.
The Final Step
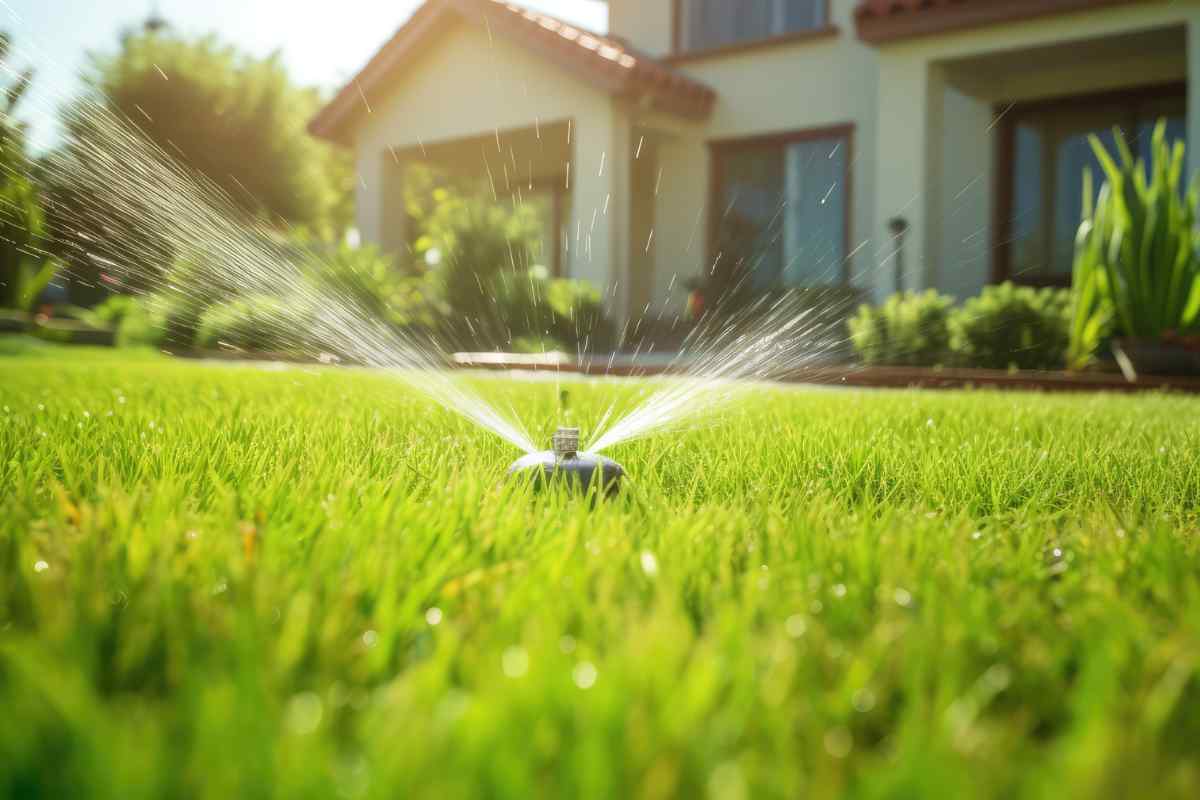
With a well-graded foundation, your new lawn is off to a fantastic start. Now you can choose your desired grass type and either plant seeds or lay sod. But keep in mind that a thriving lawn requires ongoing care.
Regular watering, mowing, and fertilization will keep your green haven flourishing throughout the seasons. Also, keep your favorite lawn care professional close. They can provide expert advice on grass selection, planting methods, and ongoing maintenance for your specific lawn and climate.
Sources
- “LAWN MAINTENANCE AND CLIMATE CHANGE,” Source: https://psci.princeton.edu/tips/2020/5/11/law-maintenance-and-climate-change
- “Water Damage Statistics and Information (2024),” Source: https://www.thisoldhouse.com/foundations/reviews/water-damage-statistics
- “Does Homeowners Insurance Cover Water Damage from Rain or a leak?” Source: https://www.forbes.com/advisor/homeowners-insurance/water-damage/


Comments ()